
A little piece of sunshine from the Dominican Republic
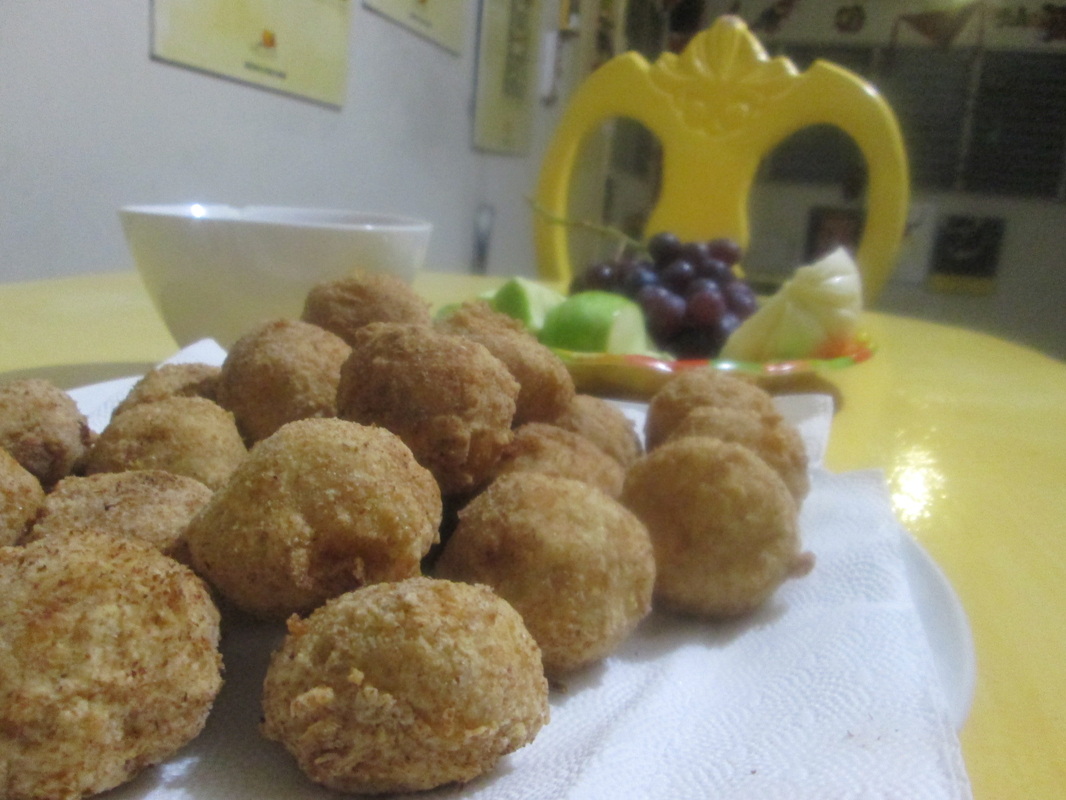
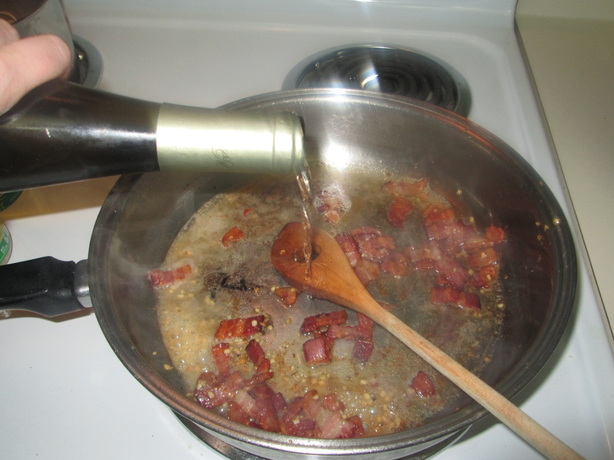
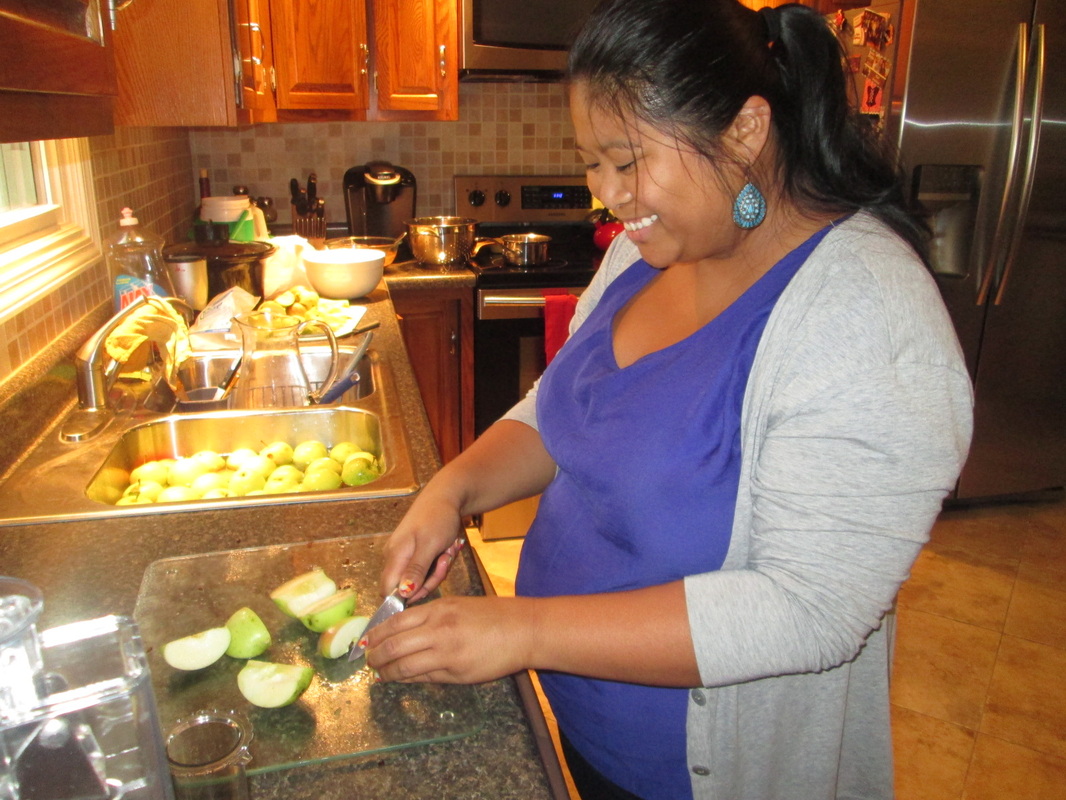
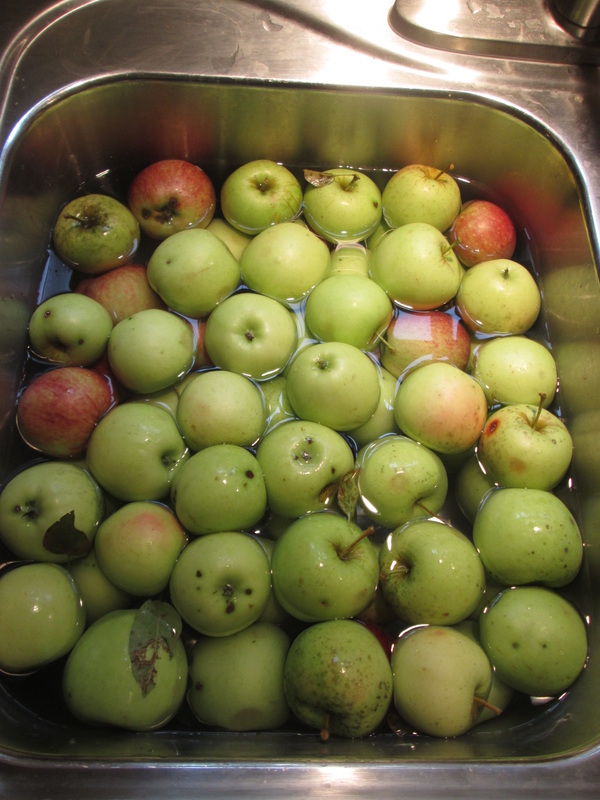
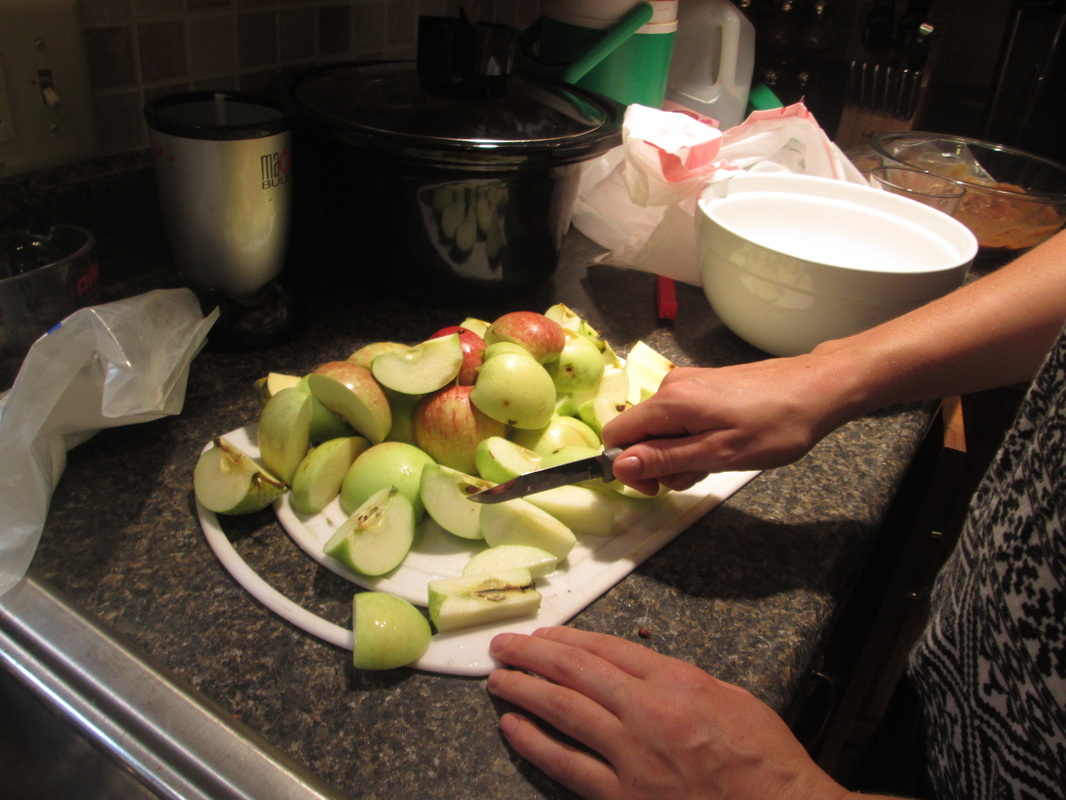
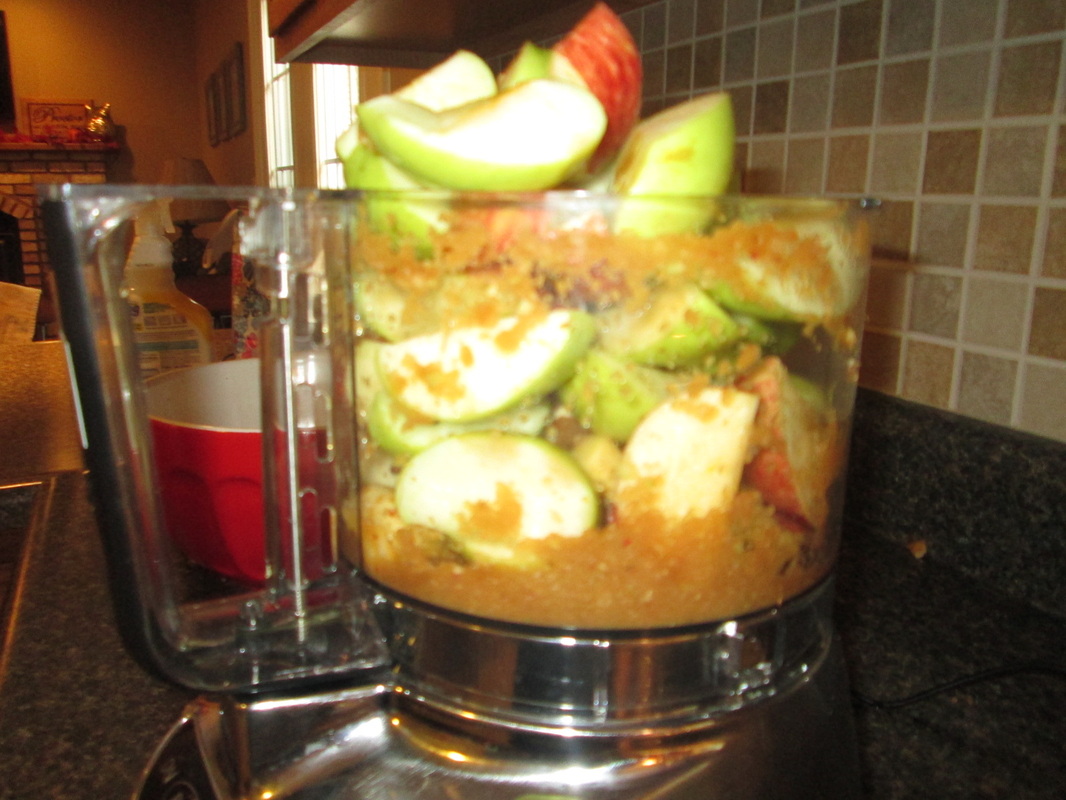
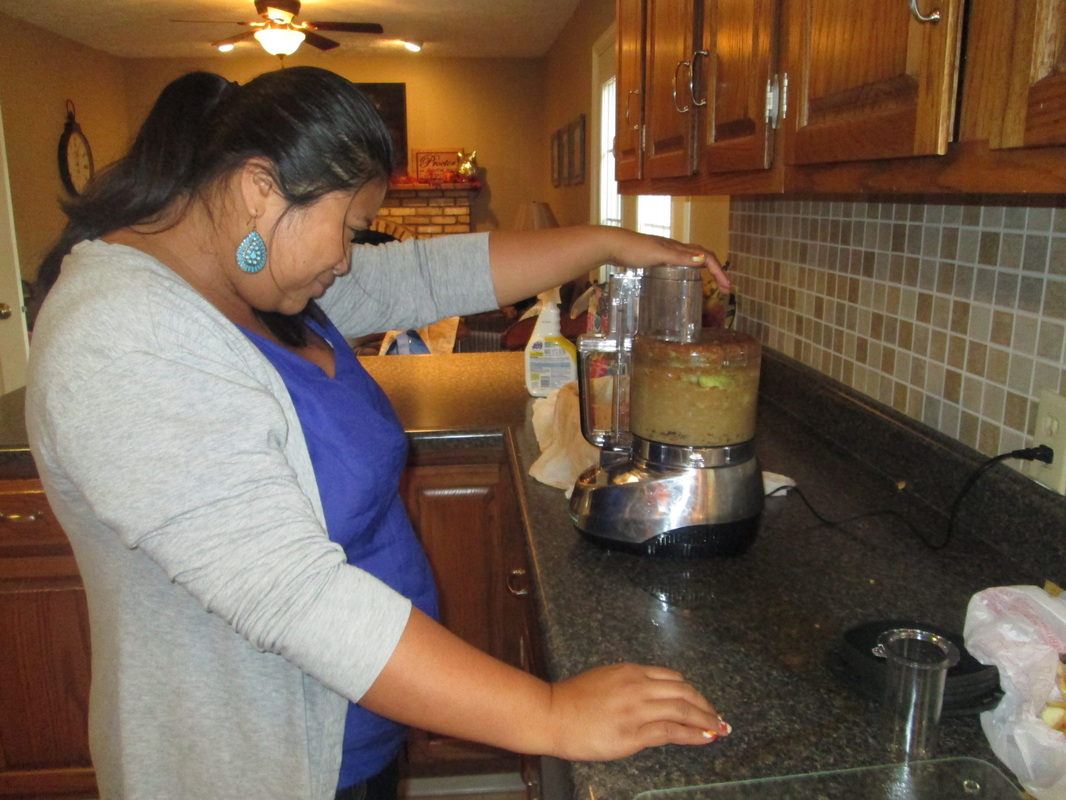
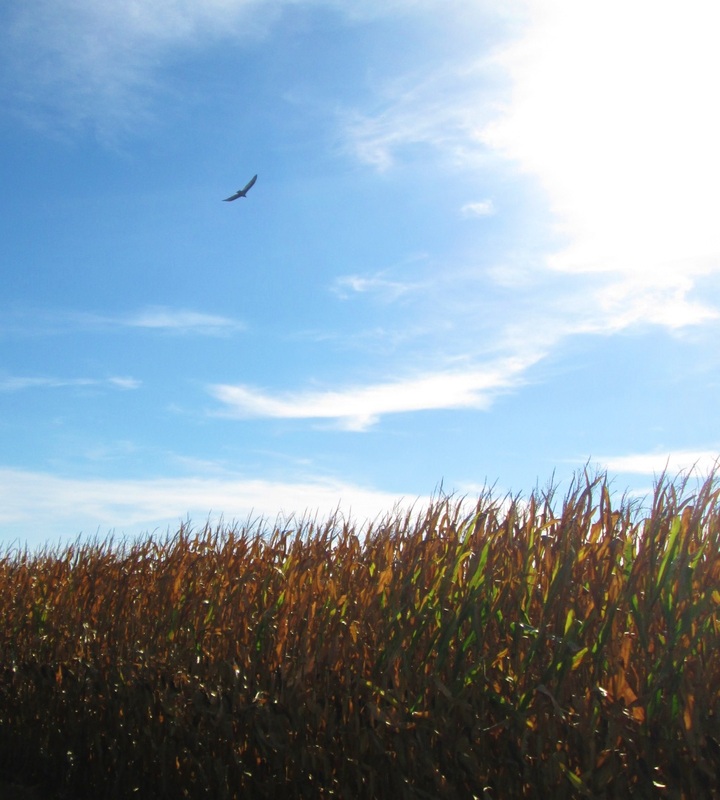
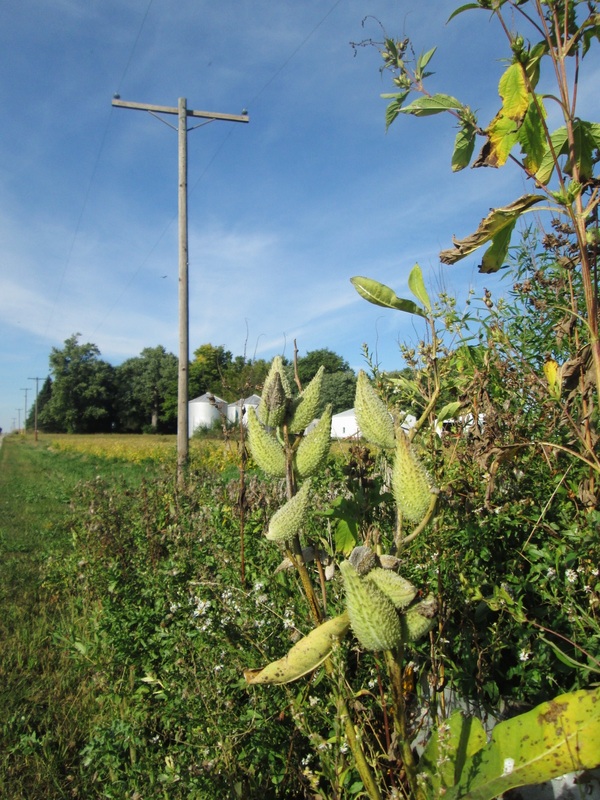
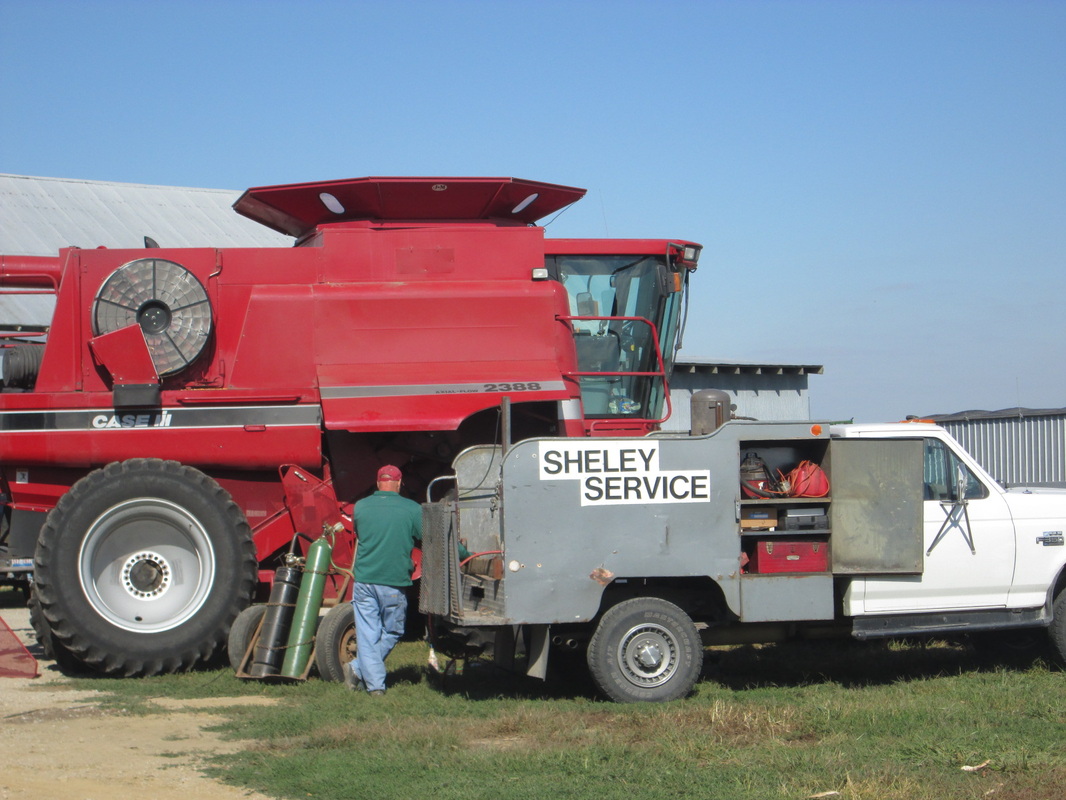
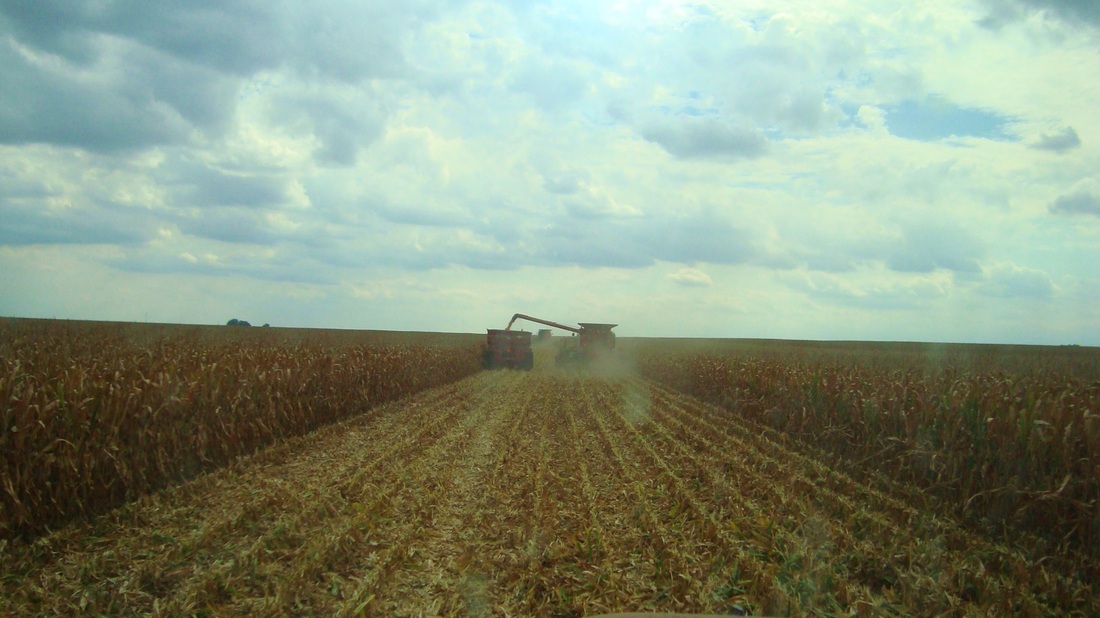
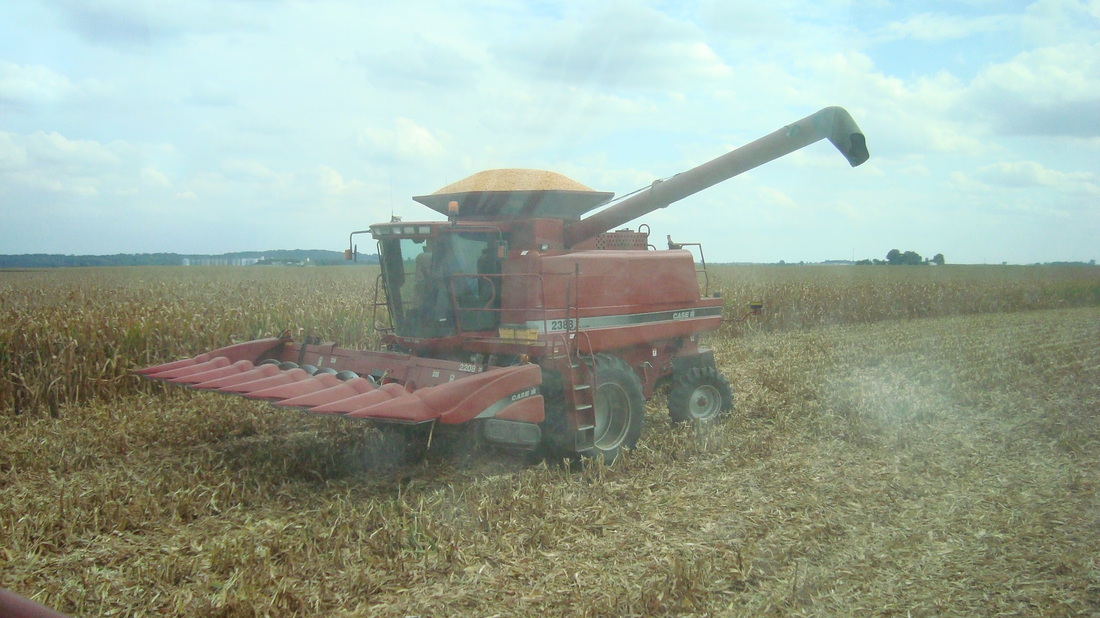
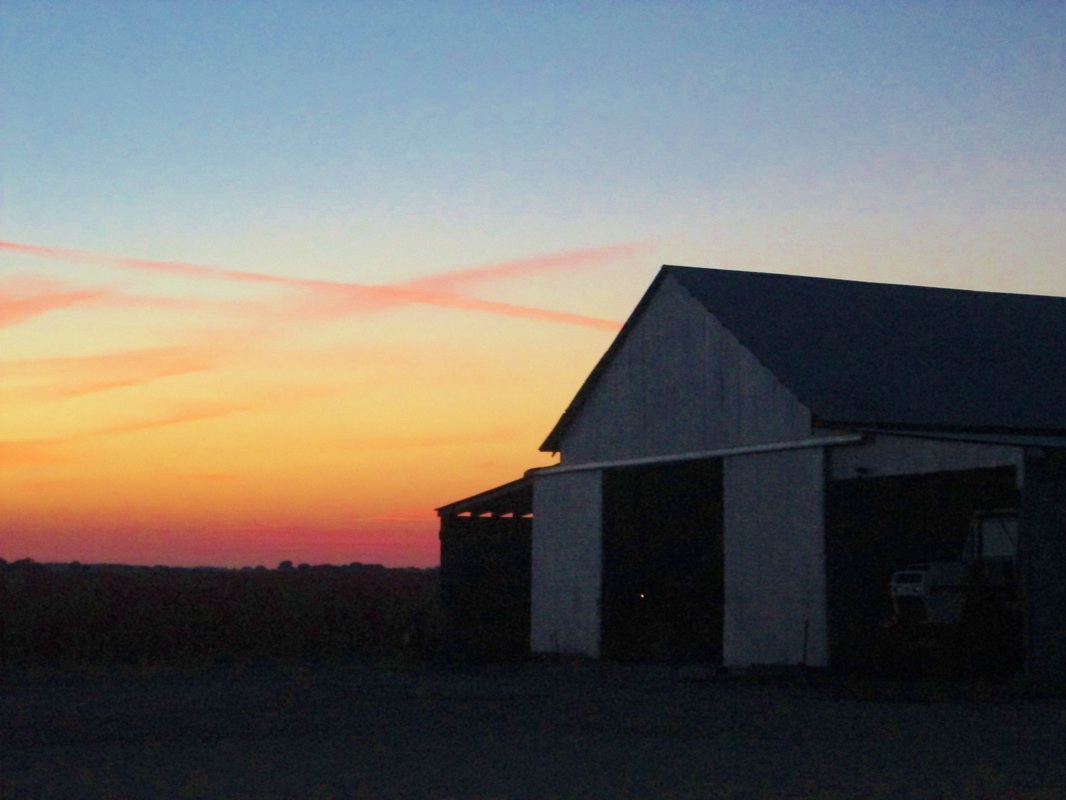
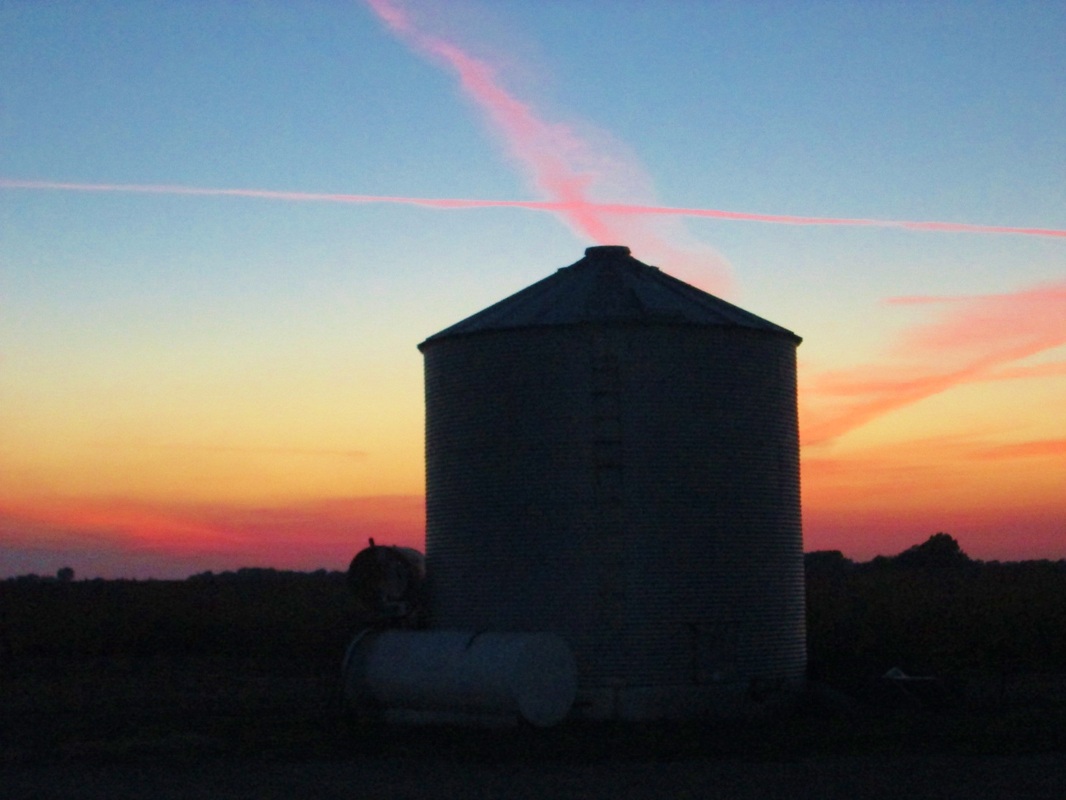
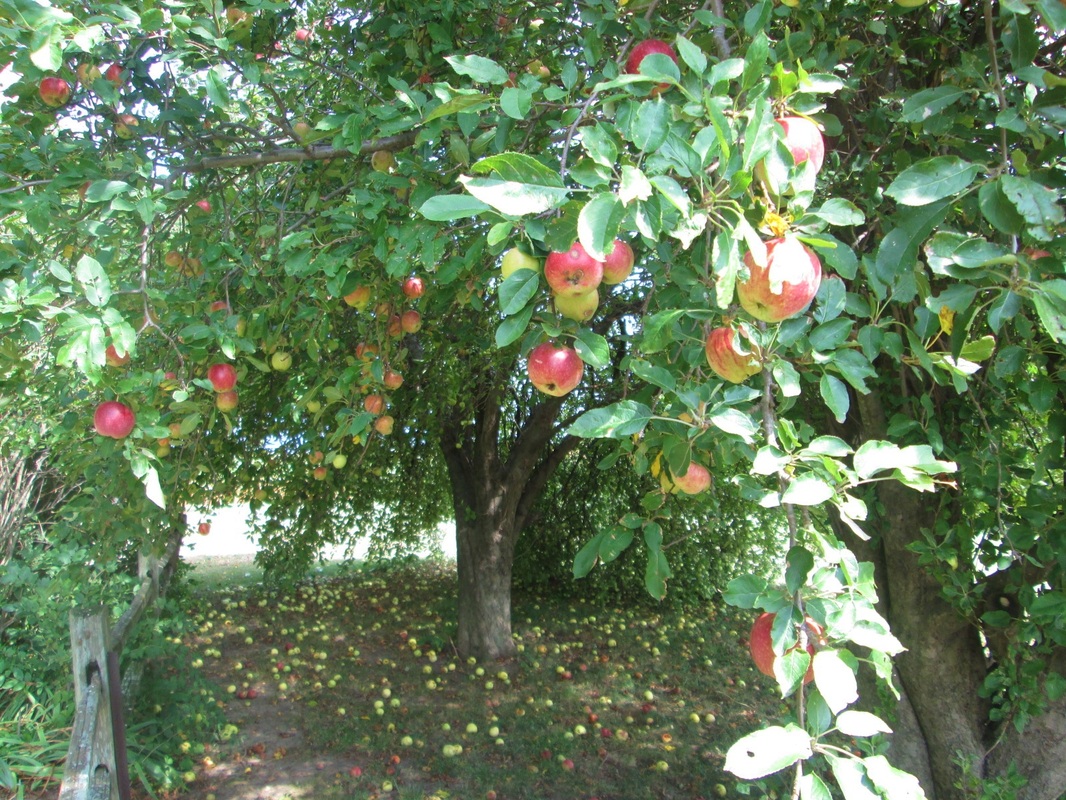
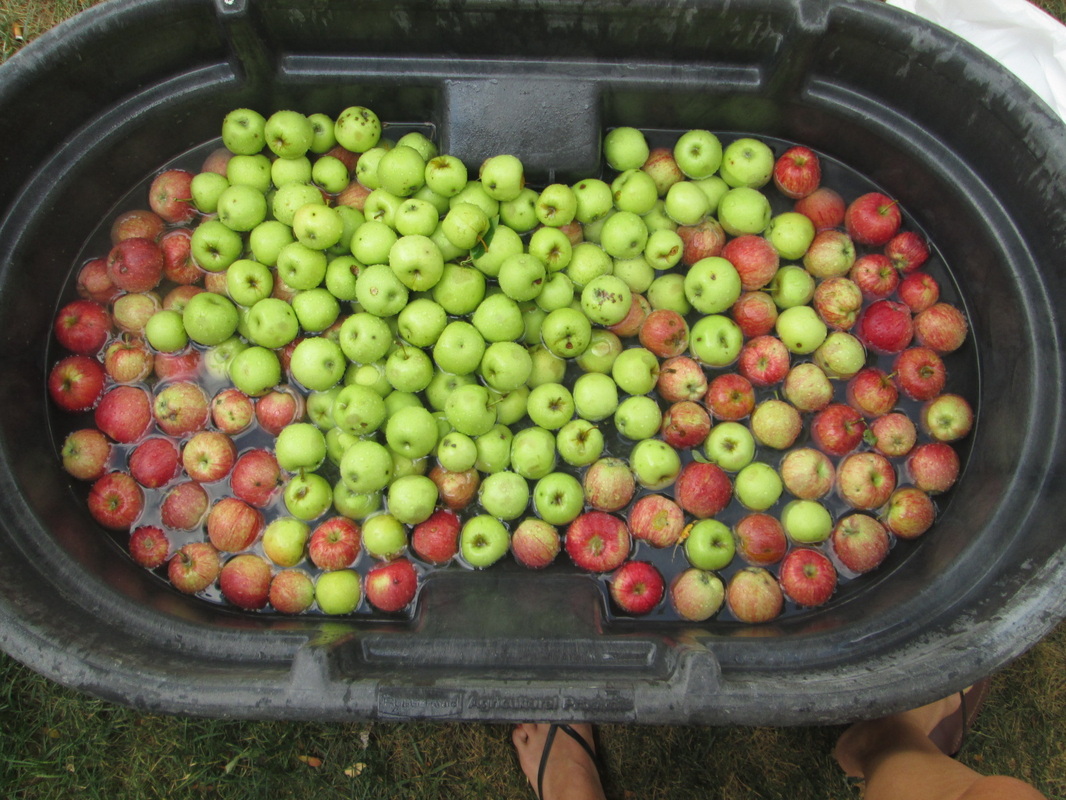
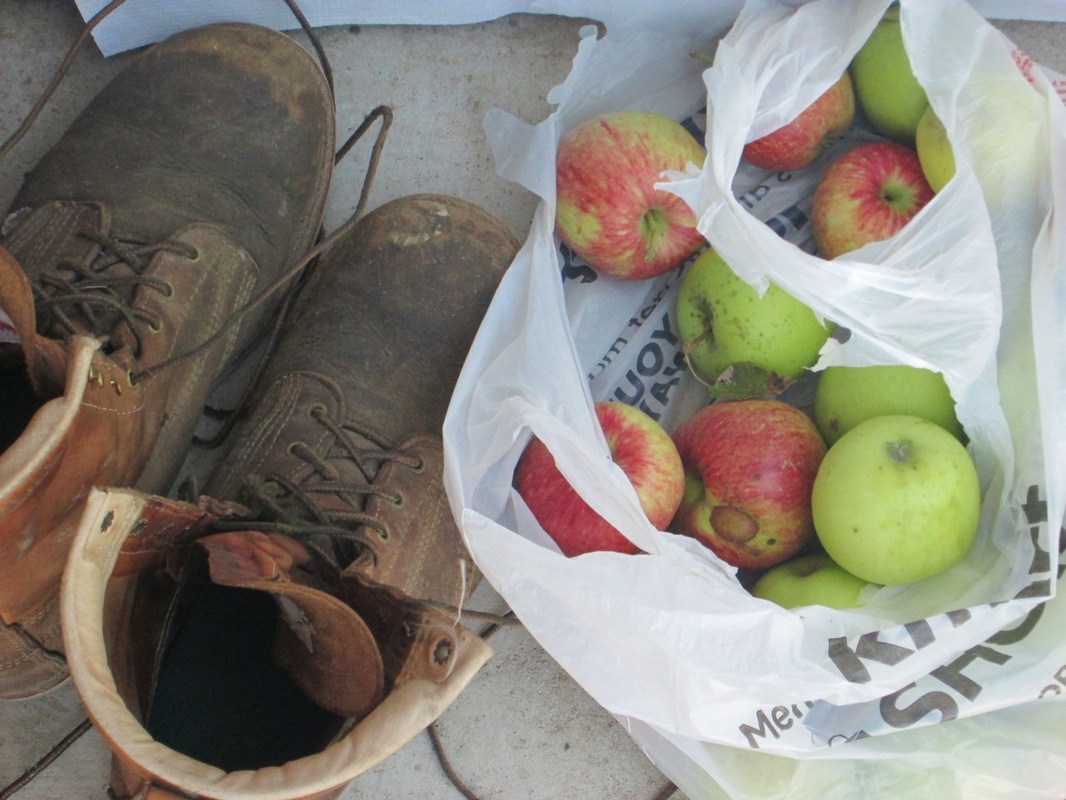
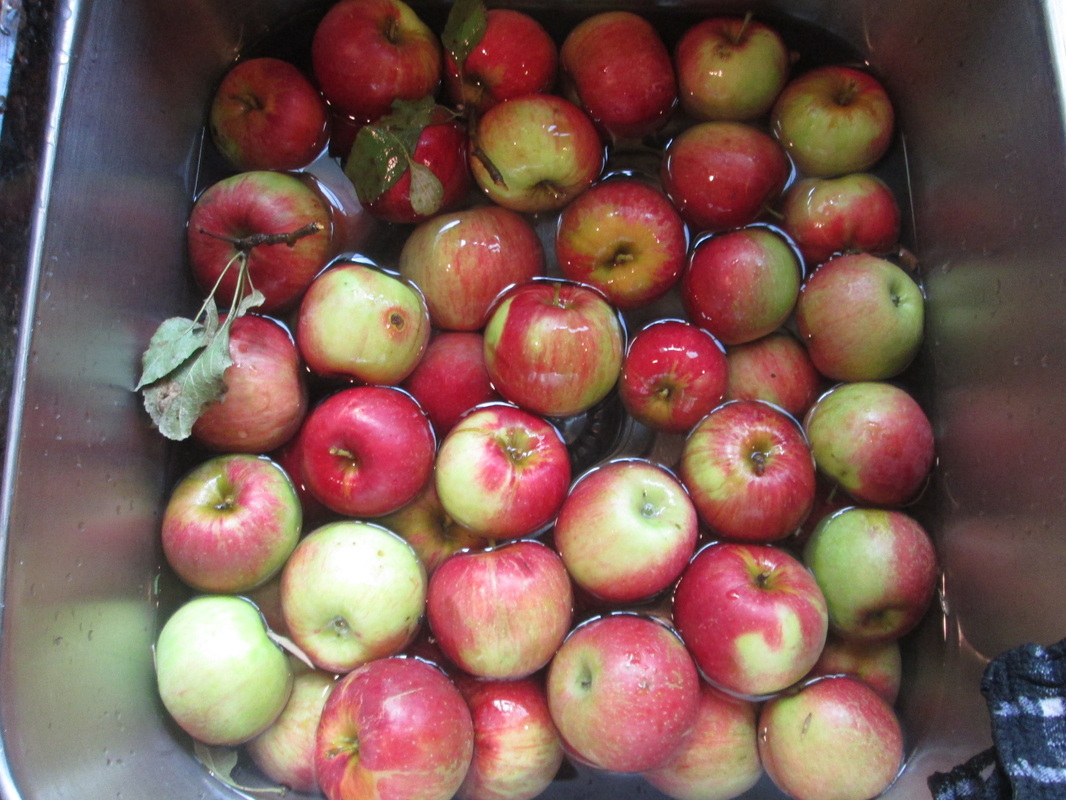
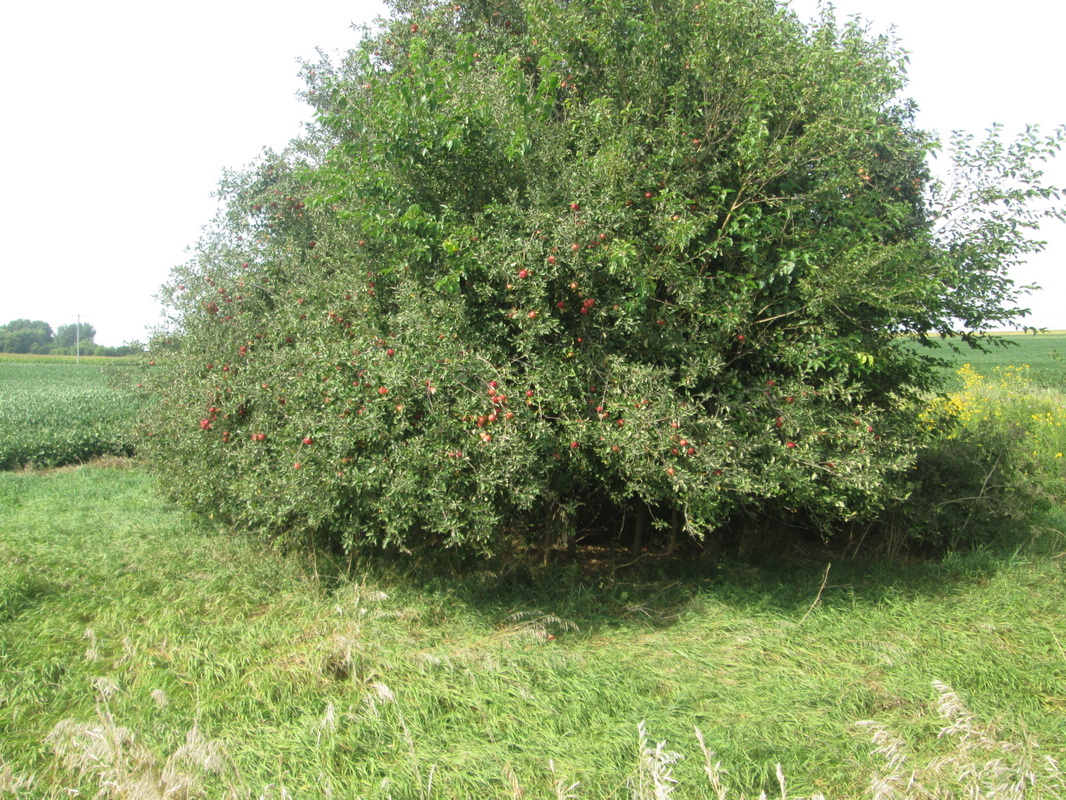
Last week I travelled to the Dominican Republic. It wasn’t so much a vacation as a return to my home away from home. I lived on that tiny island for a year teaching English to university students, munching on plantains, and soaking up all that the Dominican sun and culture had to offer. This trip was my first visit back in nearly a year and a half and I couldn’t have been more excited to see my old friends and get my hands on those tropical fruits and veggies that can’t withstand our Illinois winters. I spent my mornings sucking down papaya smoothies and my evenings sipping on passion fruit mojitos. It was glorious. So glorious in fact, that I have to share with you a little bit of Dominican cuisine so that you can try it for yourself. This recipe is called “bollitos de yuca,” or “little balls of yuca.” Move over chicken wings and potato skins, these little babies are going to be the next big thing when it comes to Super Bowl appetizers. Crispy, creamy, and cheesy, they've got all the best texture combinations covered. Test them out on the big day this weekend and see what I'm talking about. And although this recipe traditionally calls for yuca, the large tuberous root vegetable that is a staple of the Dominican diet, you can easily substitute potatoes to keep this recipe nice and local. Maybe you’ve got some leftover garden potatoes that have been sitting in storage and that would be perfect for this recipe, but if not, check at your winter farmers markets. Or give PrairiErth Farms a call, they've got an abundance of potatoes still available.
Ingredients
Click here for full instructions.
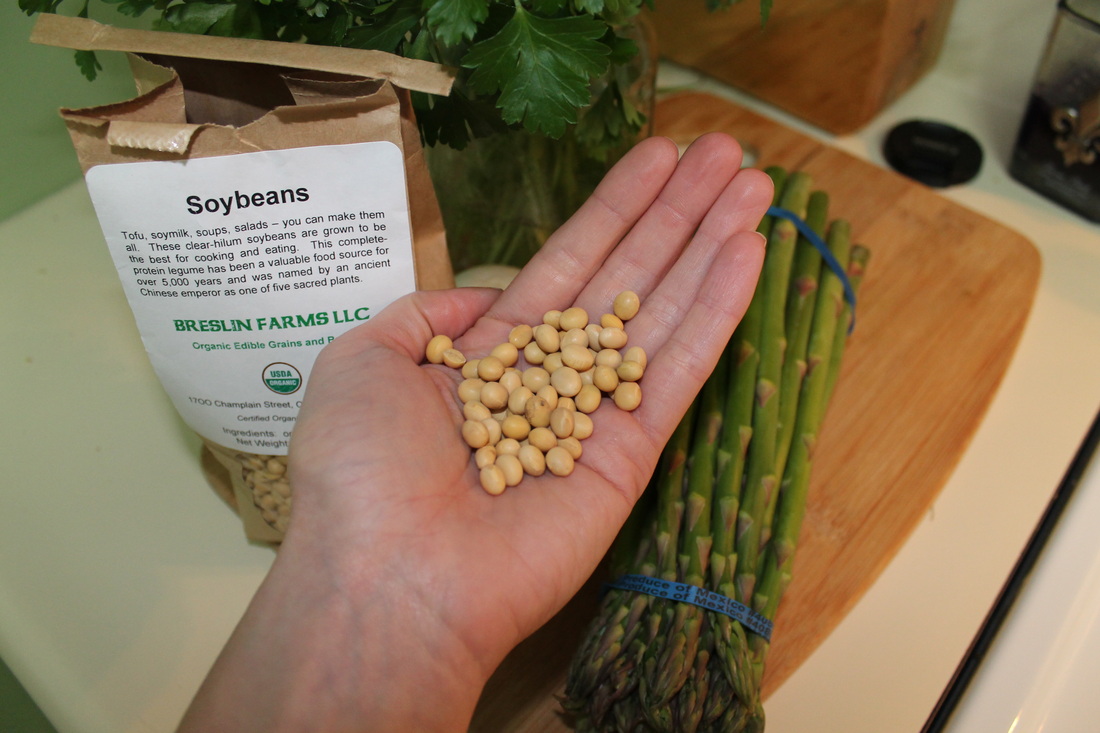
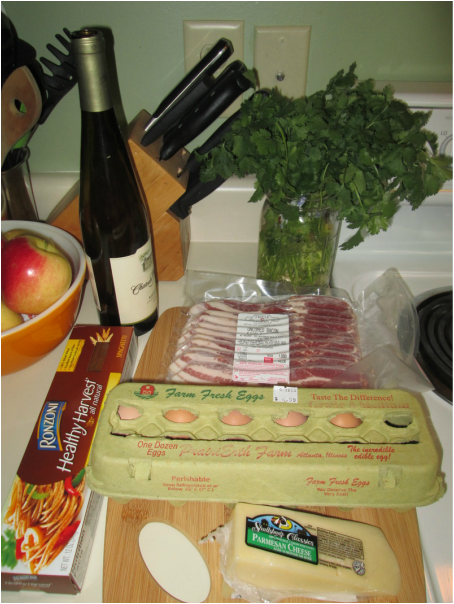
- 1 lb. of yuca (substitute locally-grown potatoes)
- 2 tablespoons of butter
- ¼ cup of milk
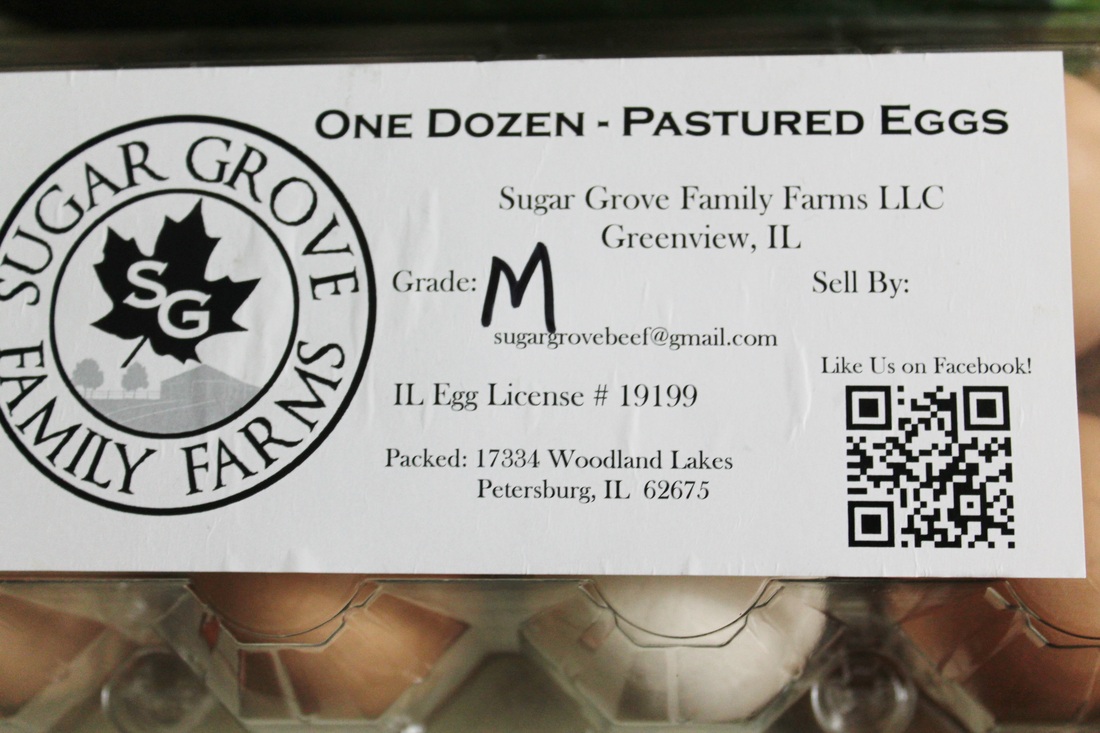
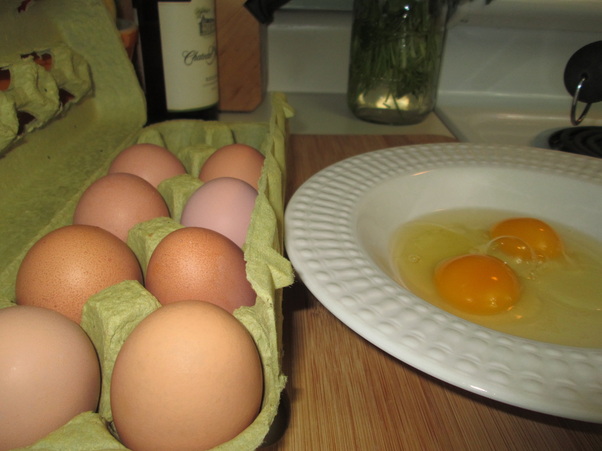
- 1 farm-fresh egg
- ½ lb of cheddar, cubed
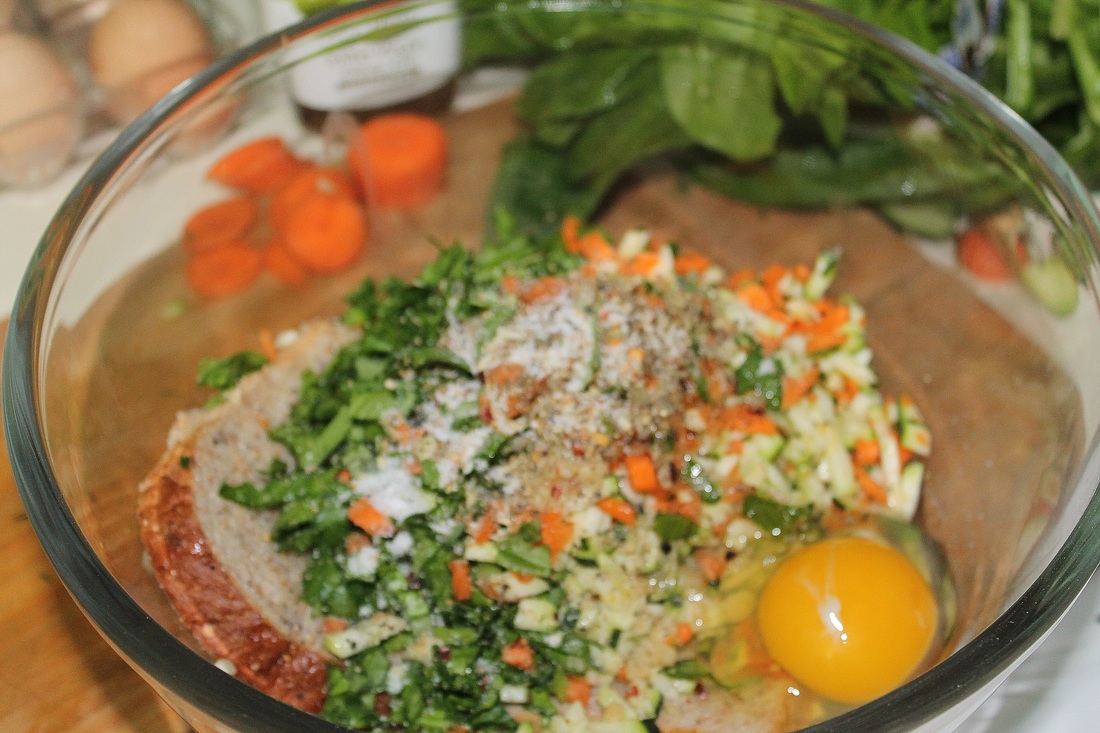
- 1 teaspoon of curly parsley, finely chopped
- Sufficient oil for deep frying (a minimun of 3 cups)
- ¼ cup of flour (breadcrumbs or panko would work well too)
- Salt
Click here for full instructions.
One of the wonderful things about the Dominican Republic, besides the sun-soaked beaches and passion fruit mojitos, is that the issue of buying locally doesn't exist. Everybody buys locally because everything is grown on the island. Anyone and everyone who lives in the countryside is sure to have their own garden or patch of ground where they harvest a modest amount of vegetables, a small flock of poultry, and maybe a pig which will be fattened up all year and roasted on Christmas. Those that live in the city will have mango and avocado trees in the their backyards and often raise chickens. There is no escaping the daily wake-up call of the rooster at 5 a.m. no matter where you live. And even in the heart of cities it is not uncommon to stumble across small fields filled with rows of plantain trees, surrounded by bustling streets and crumbling buildings on either side. Sure you can find plenty of imported food at the larger grocery stores, but most Dominicans don’t shop at larger grocery store chains all that often. Partly because the imported food is way more expensive, partly because there aren't that many large grocery stores available (I’m told that the largest supermarket chain in the country, La Sirena, resisted a deal with Wal-Mart, which makes me immensely happy), and partly because most everything they need they can get from the local “colmado,” the little mom and pop corner stores that dot every street and corner, or from passing marchantes (vendors with wheelbarrows or baskets full of produce that walk up and down the streets calling out for people to buy their goods). In fact, on my daily walk to work at the university, I consistently bought fresh cut fruit from a little pop-up stand and passed free-range chickens scurrying across the road.
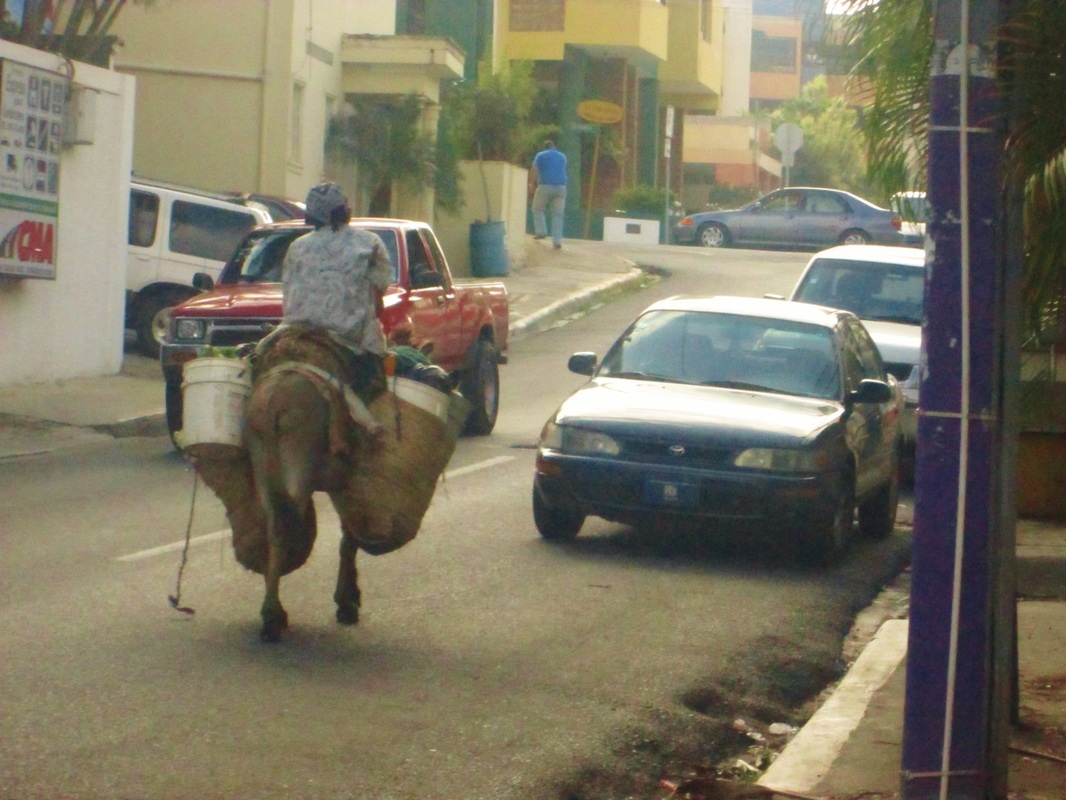
La Marchante selling her produce in the street
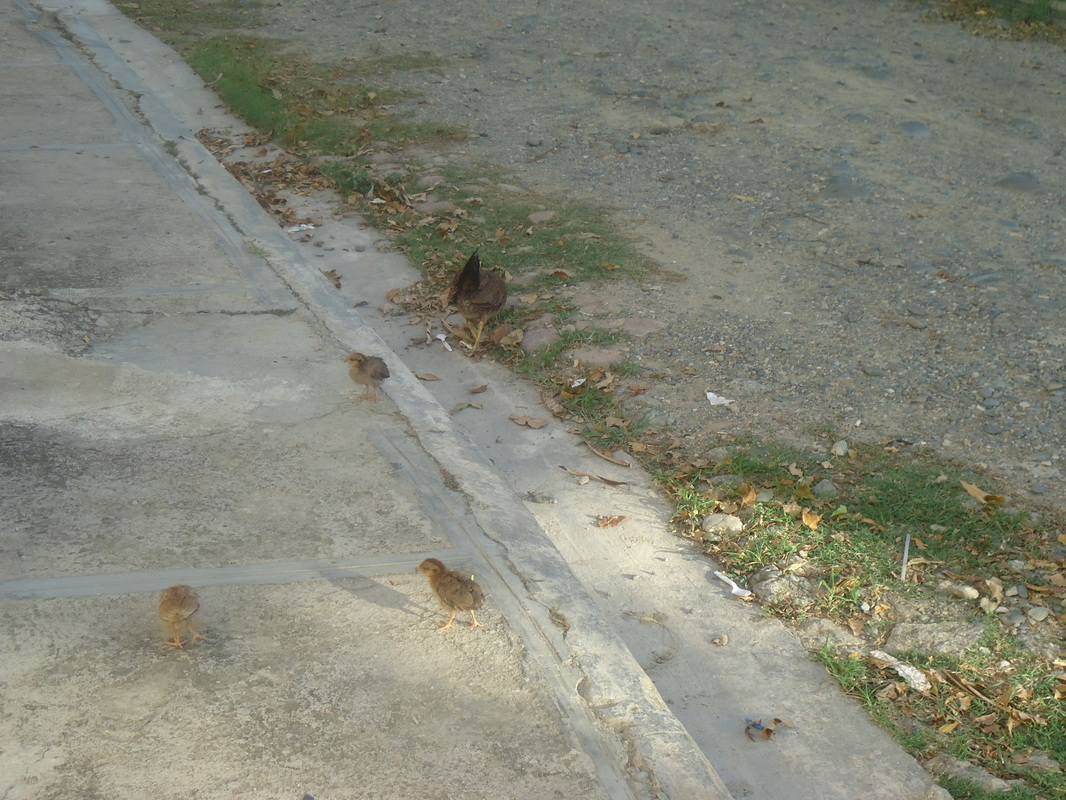
Baby chicks dot the road on my way to school
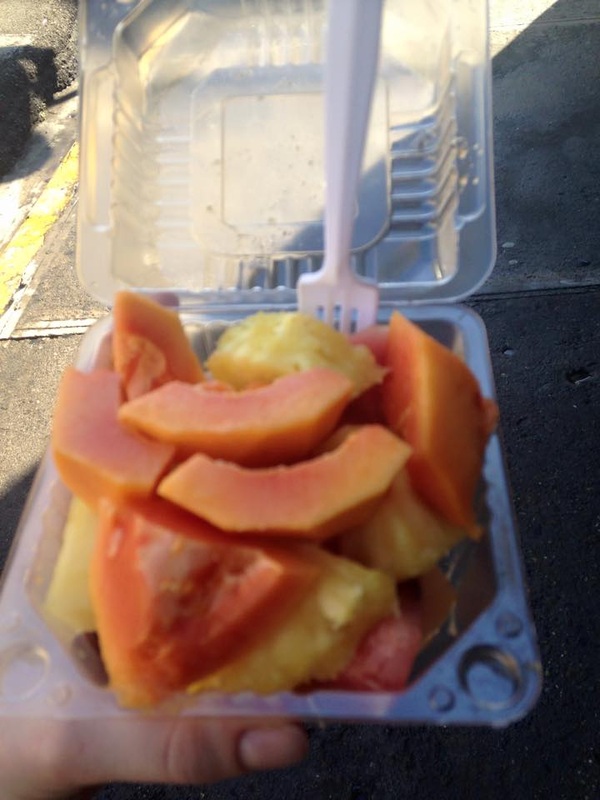
Fresh cut papaya, pineapple, and cantaloupe makes for an amazing breakfast
The bottom line is, you don’t need to travel far to find extremely fresh, locally grown produce when you live in the D.R. It’s almost always at your fingertips. So when my Dominican friends asked me what I was up to back in Illinois, I sputtered. How do you explain that you work to promote local food systems in a country where local food problems literally do not exist? Throw in trying to explain it in sub-par Spanish and you can bet I was staring at some confused faces.
I'll leave you with this thought:
The United States is one of the leading industrial and agricultural countries in the world, but what price have we had to pay to claim that title? 70% of our diet is made up of processed food and we are ranked 37th in life expectancy globally (PBS News Hour) Our people don’t understand where their food comes and don’t know how to grow it for themselves. Our farmers have been forced to apply more chemicals and clear more land in order to earn a living on their farms, while the health of our soils, water, and air has been pushed to the wayside. We import food from all over the world instead of raising what we need to feed our own communities and economies. Maybe the Dominican Republic is just a little third-world island in the middle of nowhere, but when it comes to local food, we could learn a lesson or two.


 RSS Feed