I promised you apple cider, and by jo! you will have apple cider.
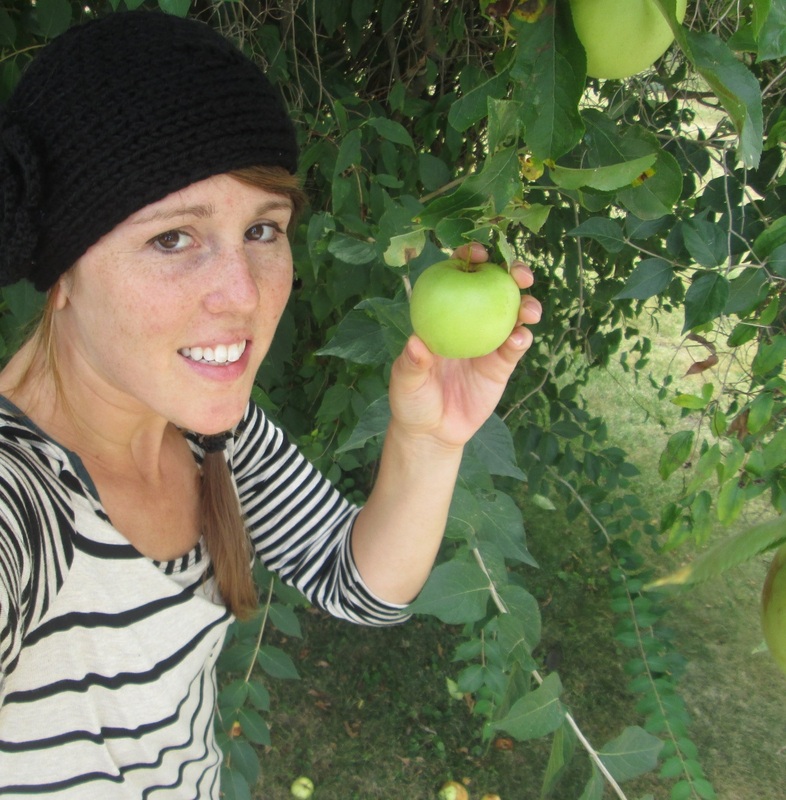
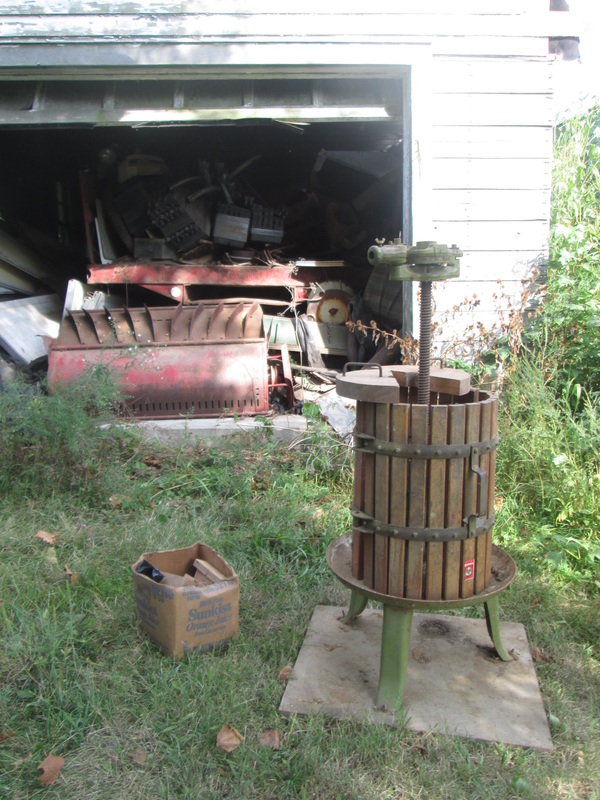
After my previous disheartening adventures with the apple cider press, it was back to the drawing board. So with renewed vigor, I recruited two things that I absolutely NEED in my life:
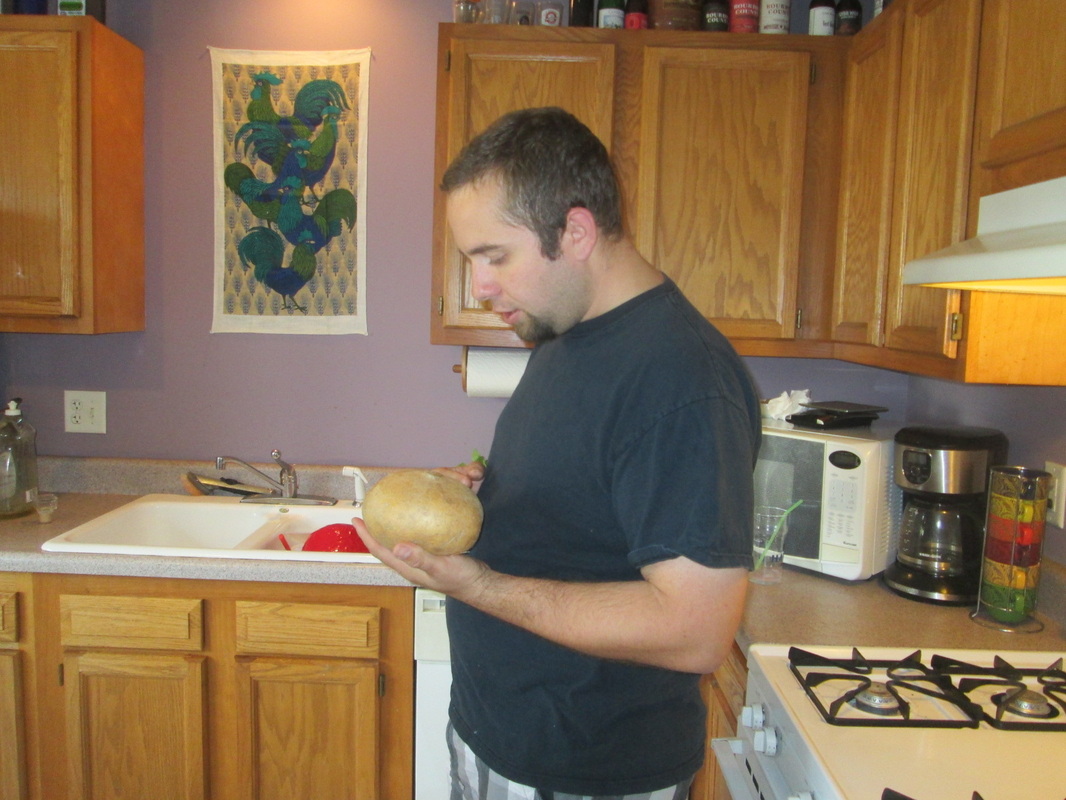
Michelle and a Food Processor.
After my previous disheartening adventures with the apple cider press, it was back to the drawing board. So with renewed vigor, I recruited two things that I absolutely NEED in my life:
Michelle and a Food Processor.
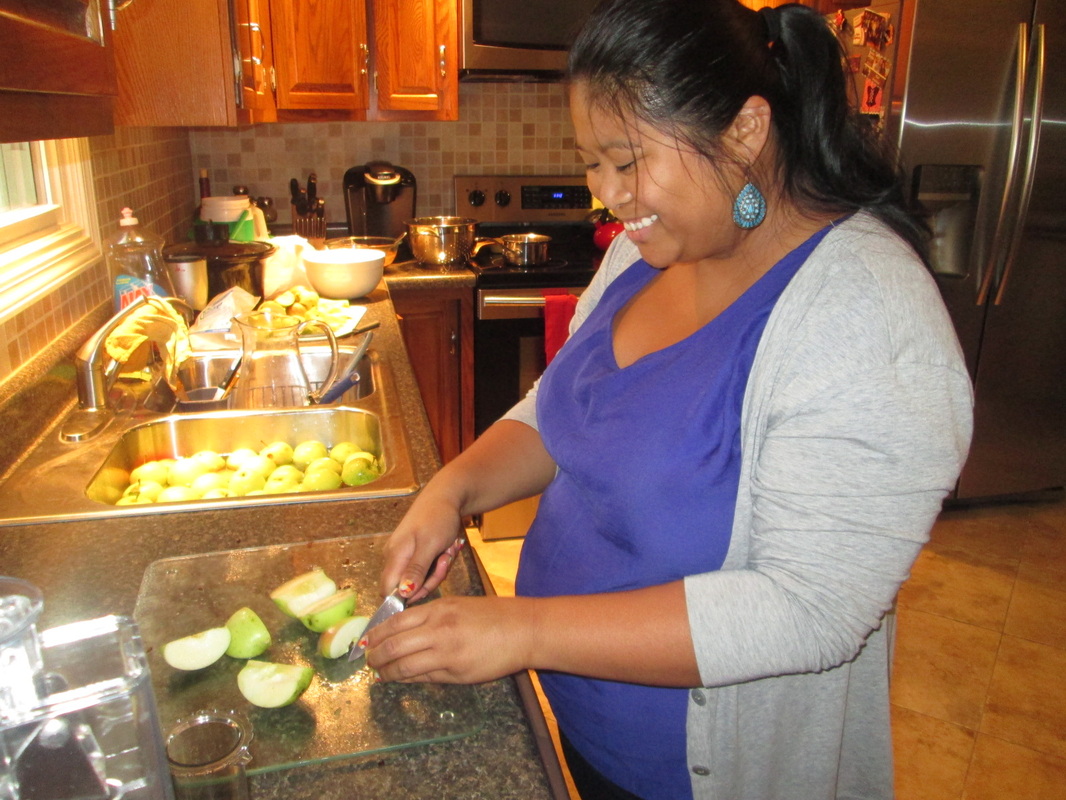
Michelle because she's pretty to look at, obviously.
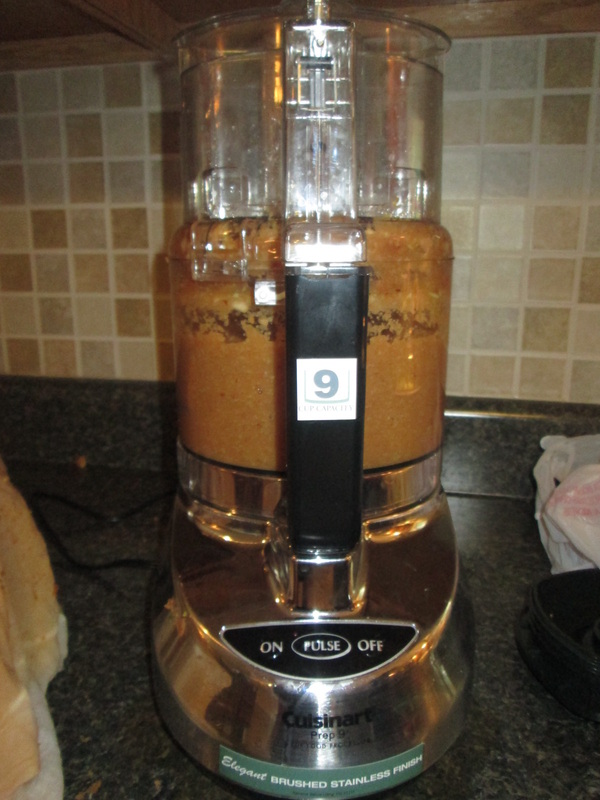
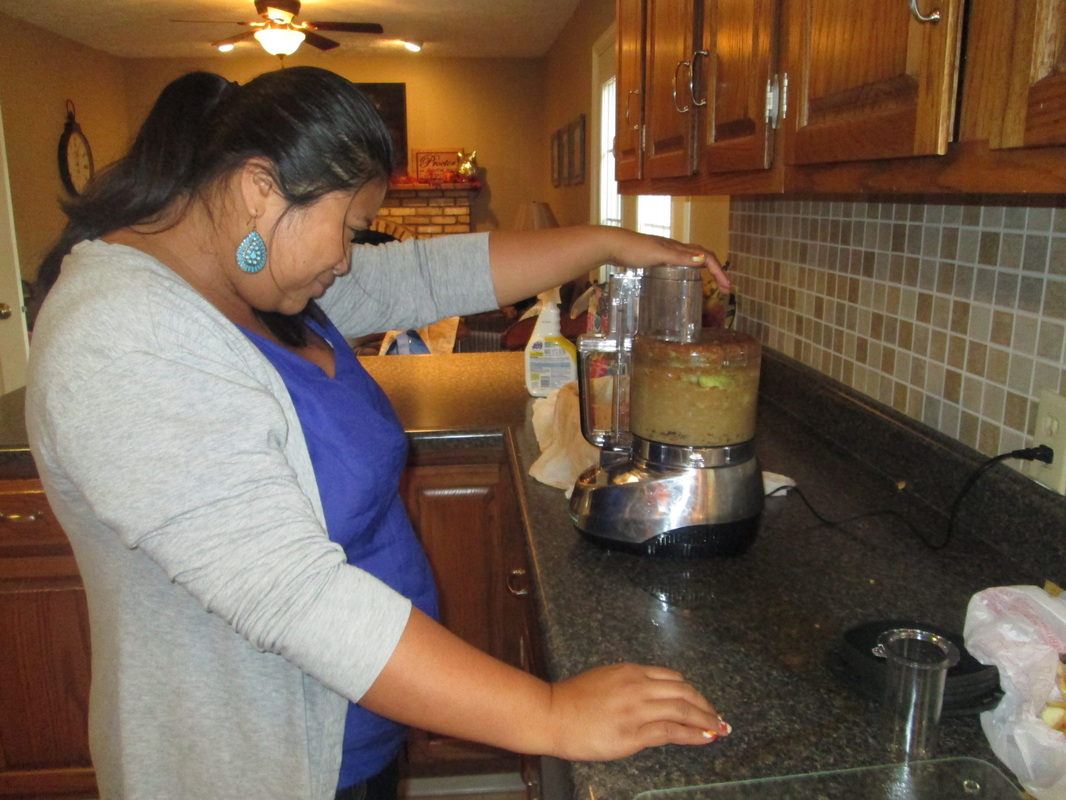
...and the food processor because it's magical!
The food processor isn't mine. It's my sister's. She owns nice things.
Quite frankly, I didn't even realize I needed a food processor in my life until I used hers. Michelle and I pretty much spent the entire day cooing over the food processor and planning future lives in which we have babies and husbands and all the time in the world to make homemade baby food and peanut butter and save our families loads of money with our food processing thriftiness (just imagine the gourmet meals we could whip up) and increase our life expectancies while saving the environment with our food processing savviness (buying organic local foods to use in our food processor instead of processed goods) and all the while wearing cute aprons and 1950's style dresses and being perfect housewives.
Gah! See what a food processor can do to you?! That thing should come with a warning label: Use at the risk of becoming domestic.
But I'm skipping ahead of myself a little here, before you can start using the magical dream-inducing food processor, you've got to have a plan.
Hard Apple Cider making is a bit of a science. Which is good for me because I love science. I sifted through TONS of information on making cider. I mean TONS. There is an exhaustive amount of material on the internet. But lucky for you, I'm going to break it down.
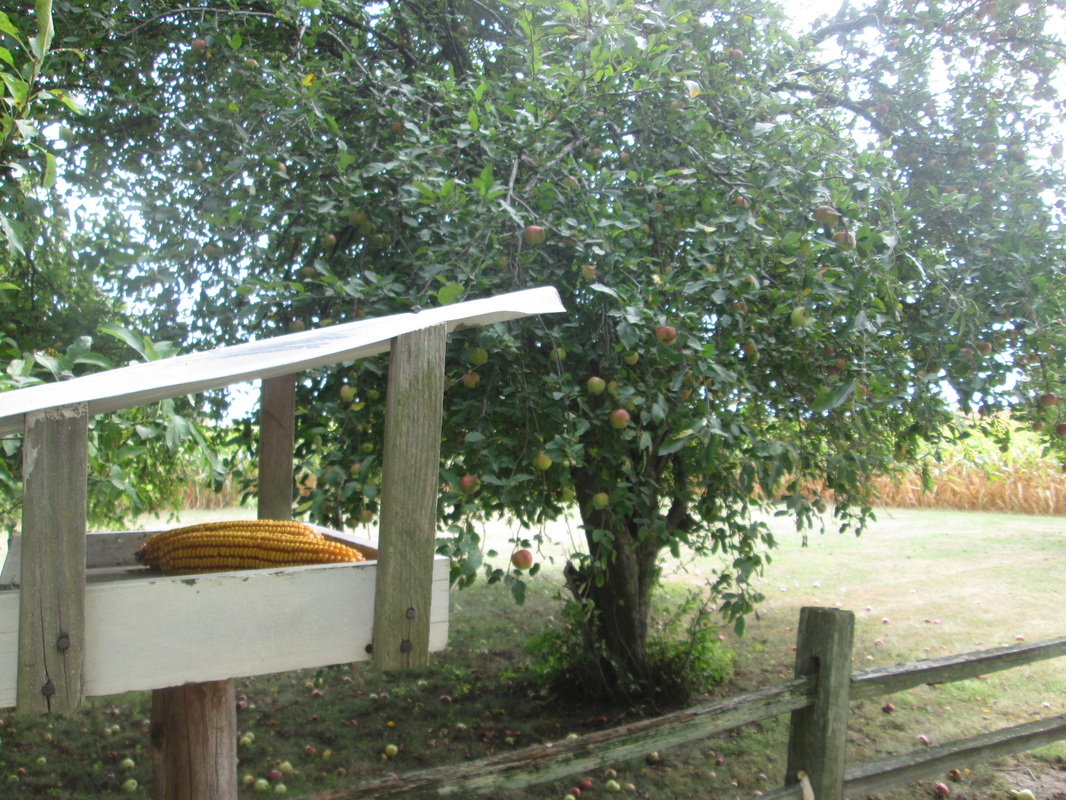
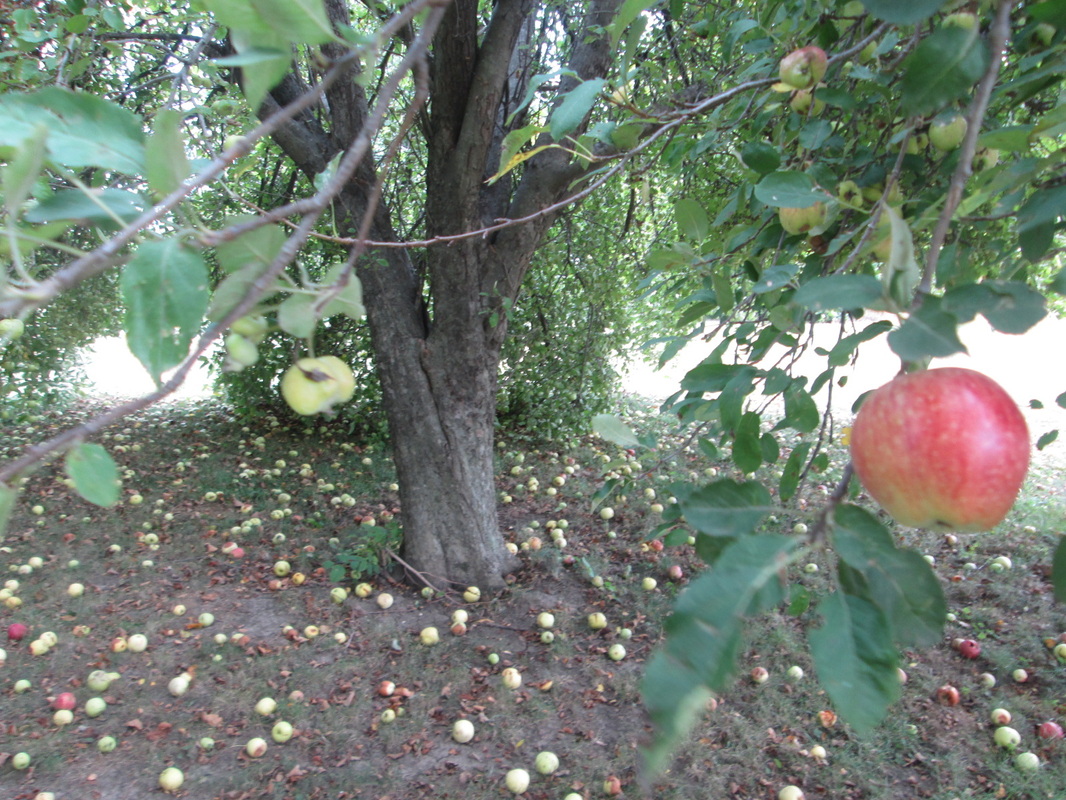
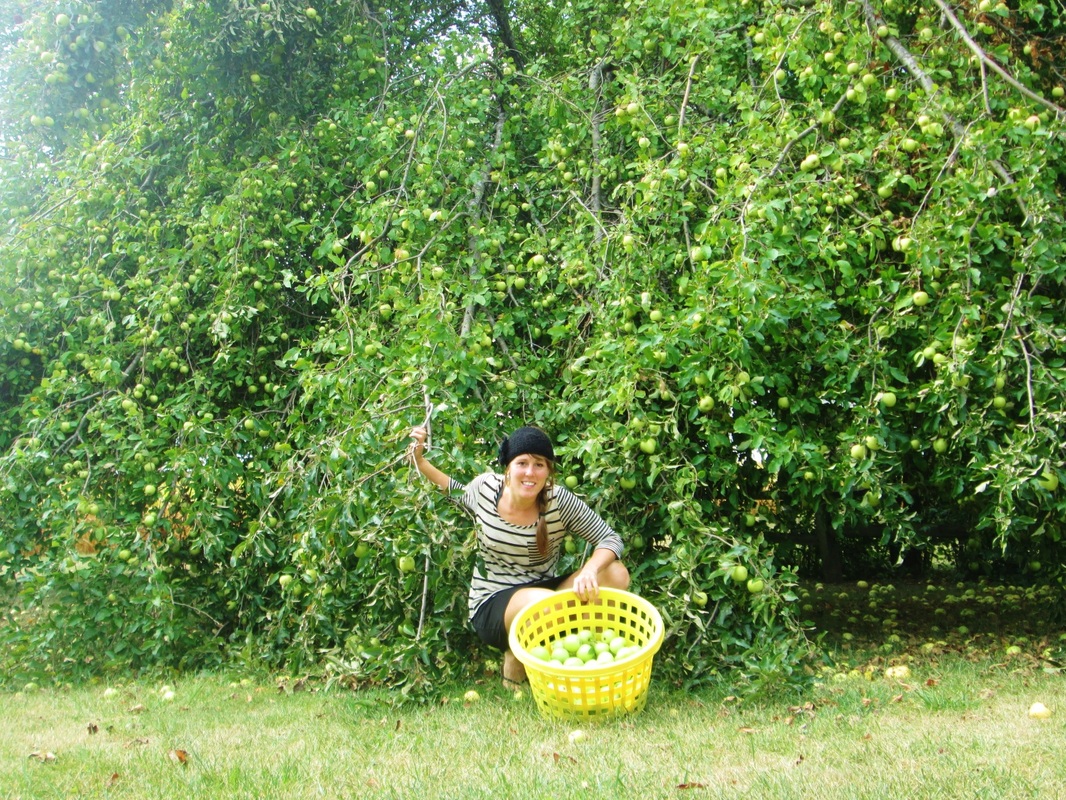
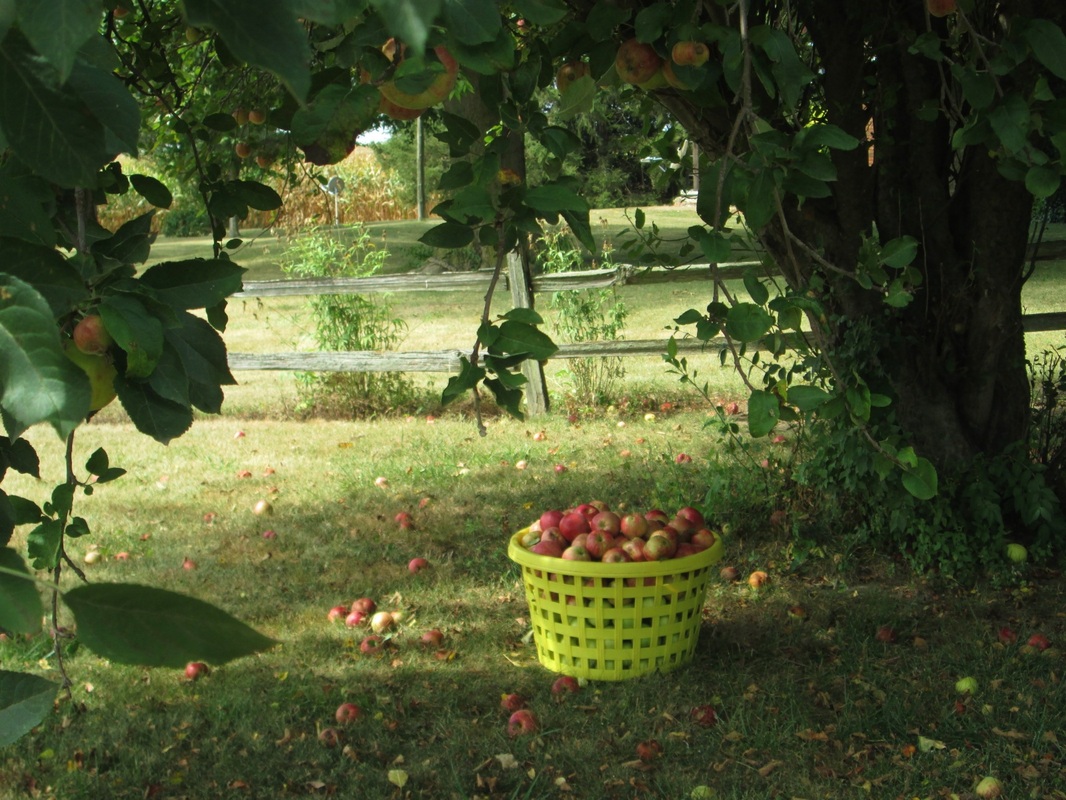
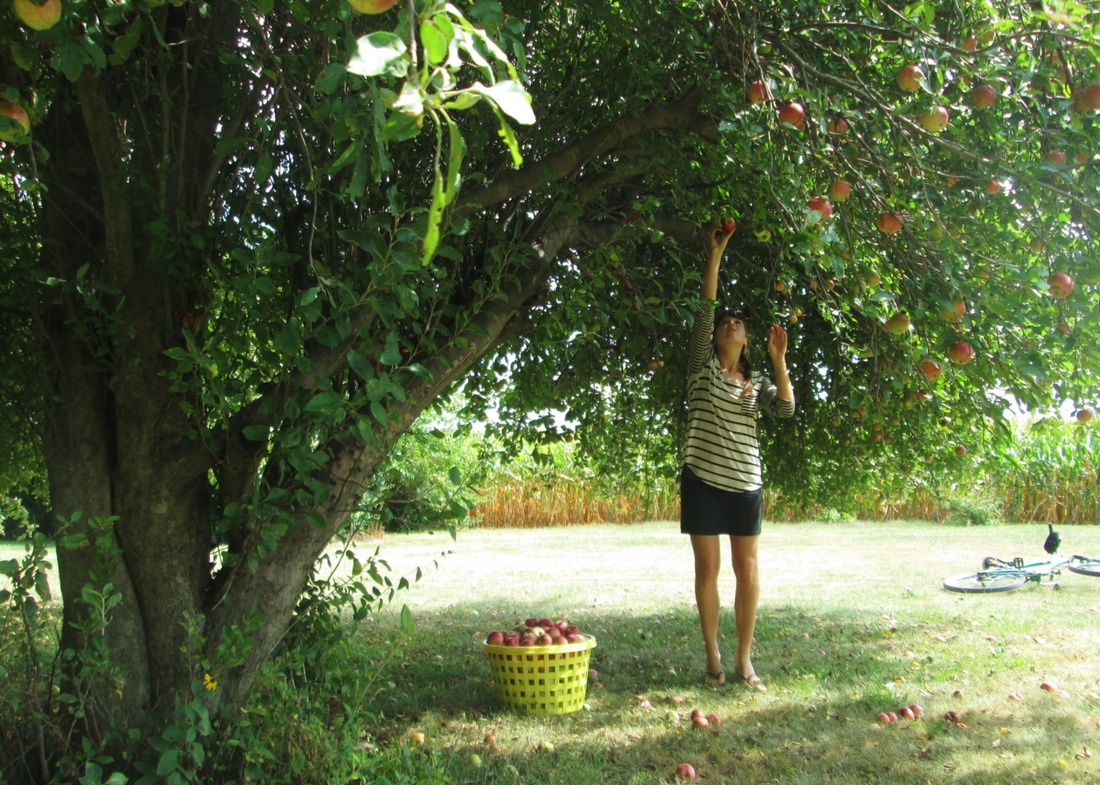
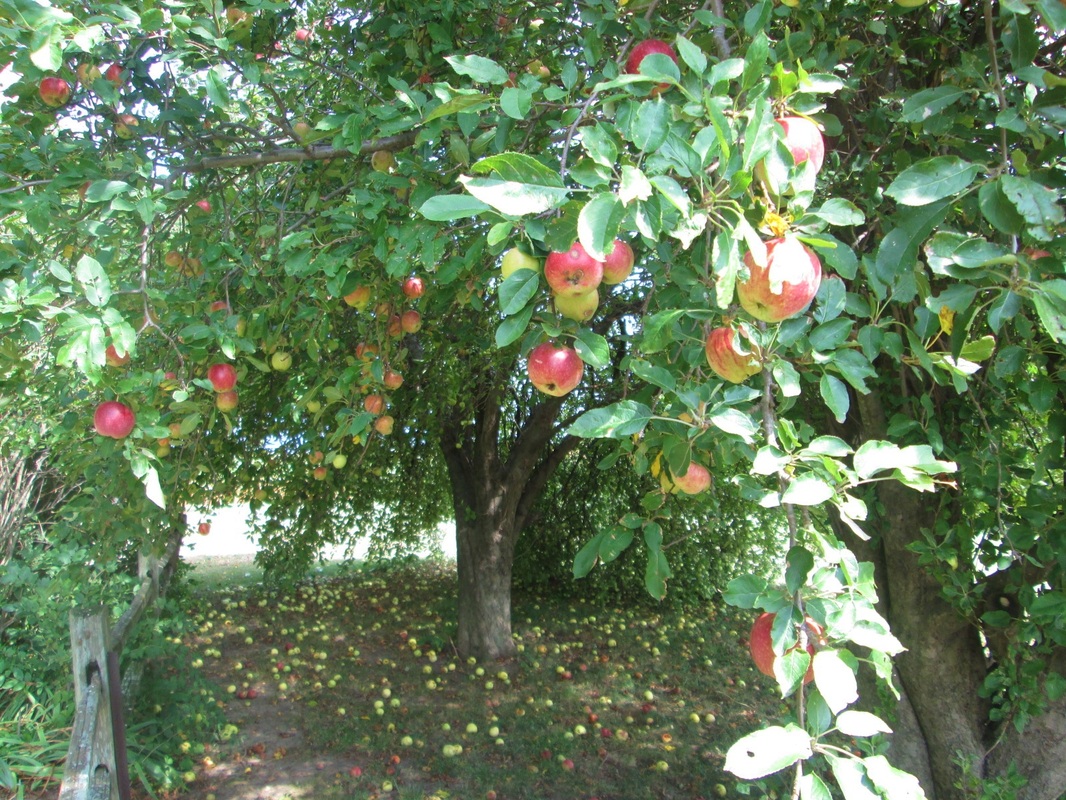
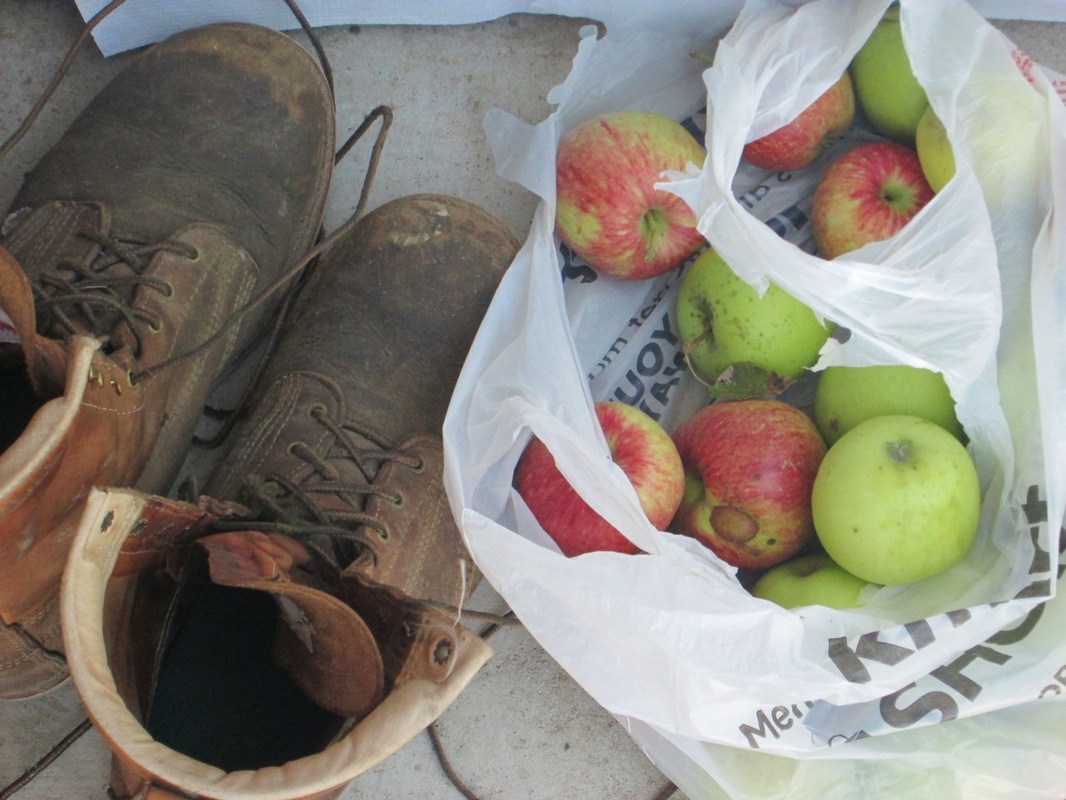
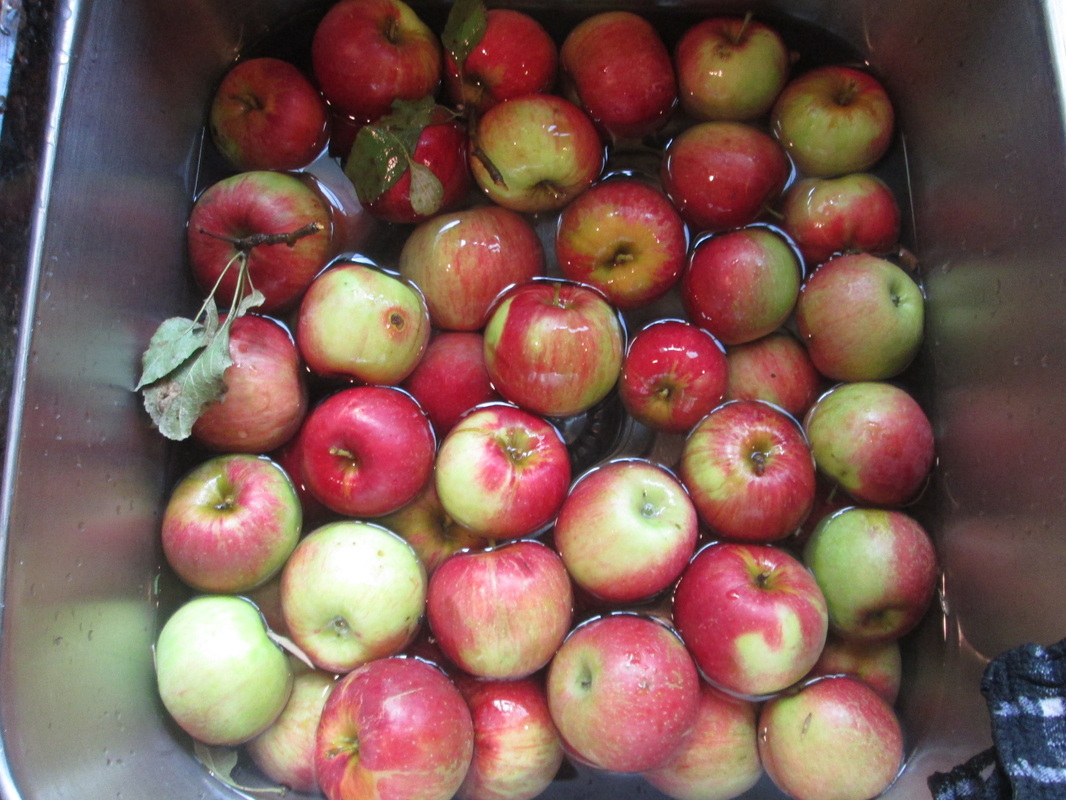
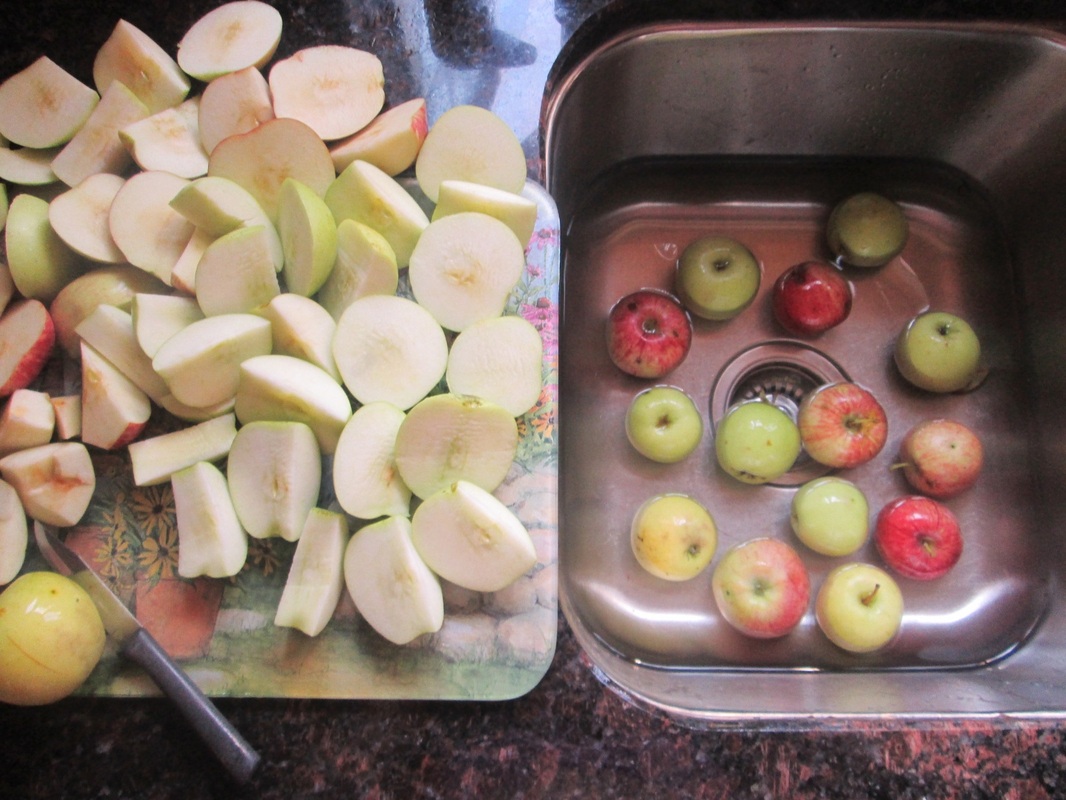
1. Picking and Washing the Apples
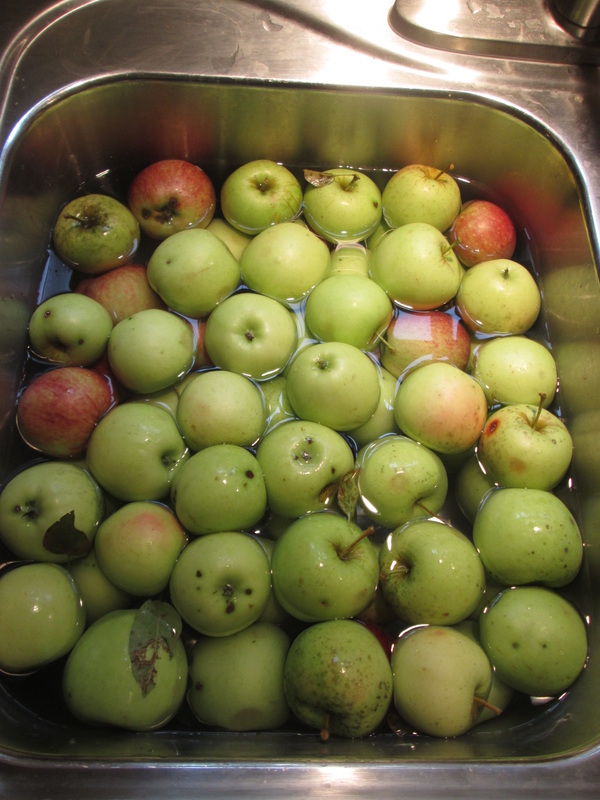
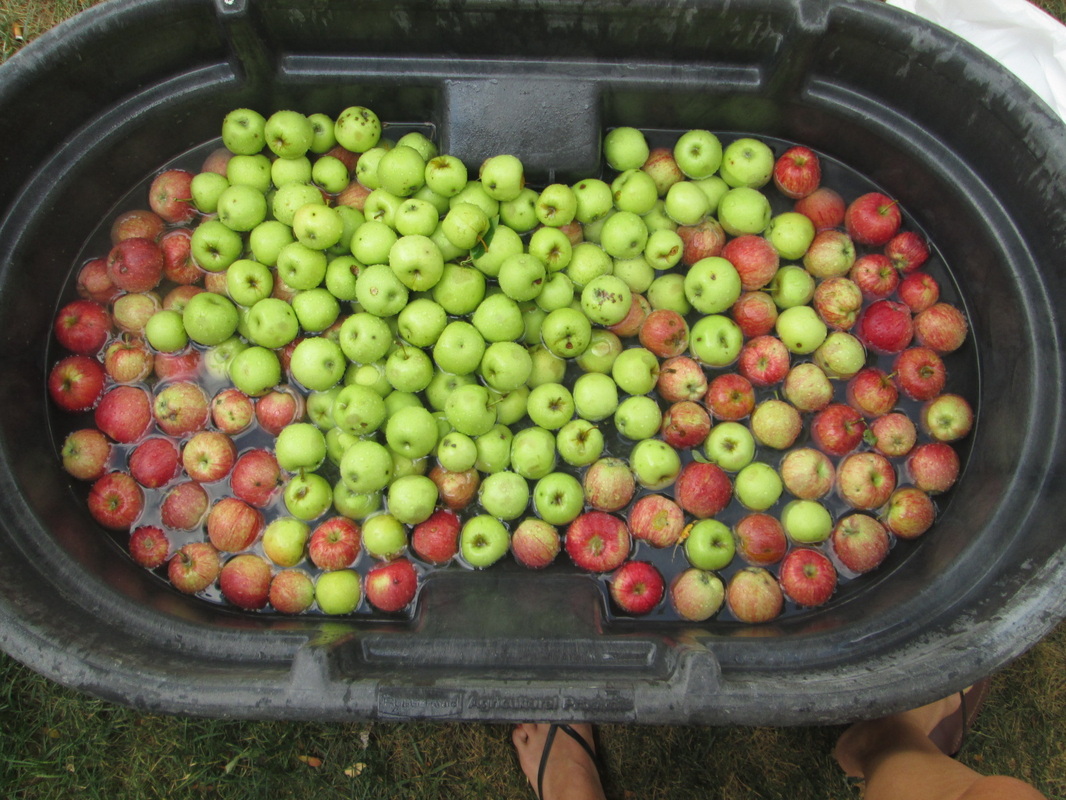
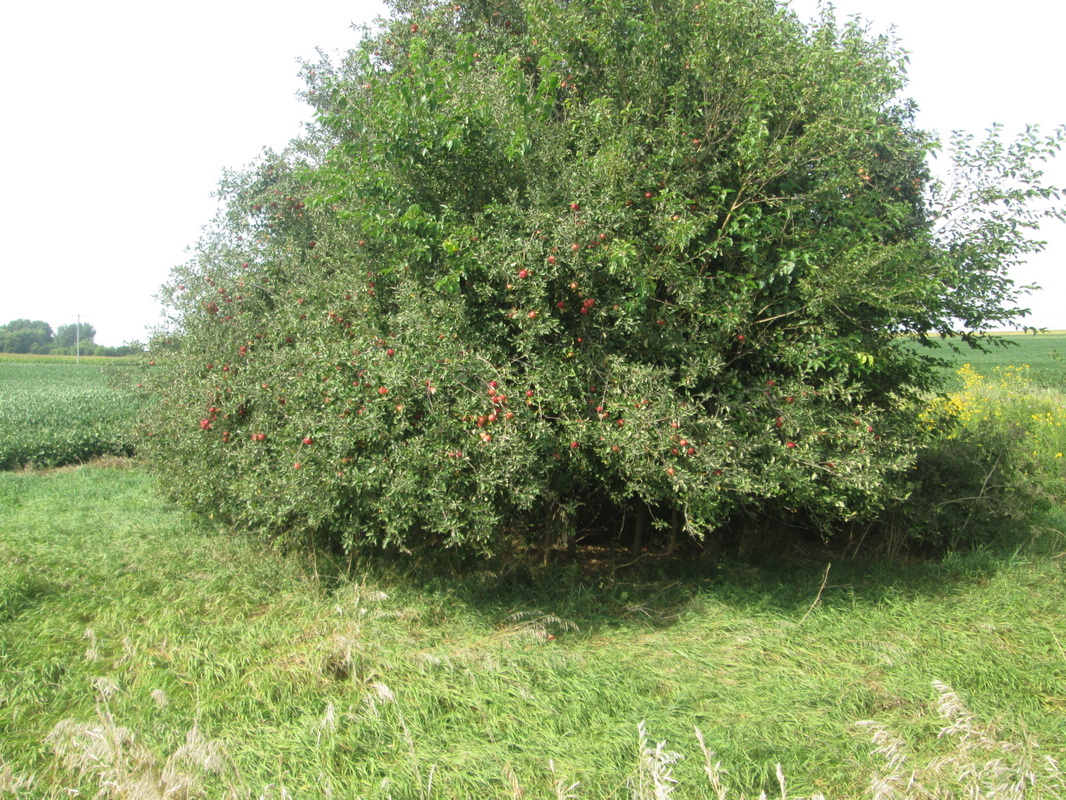
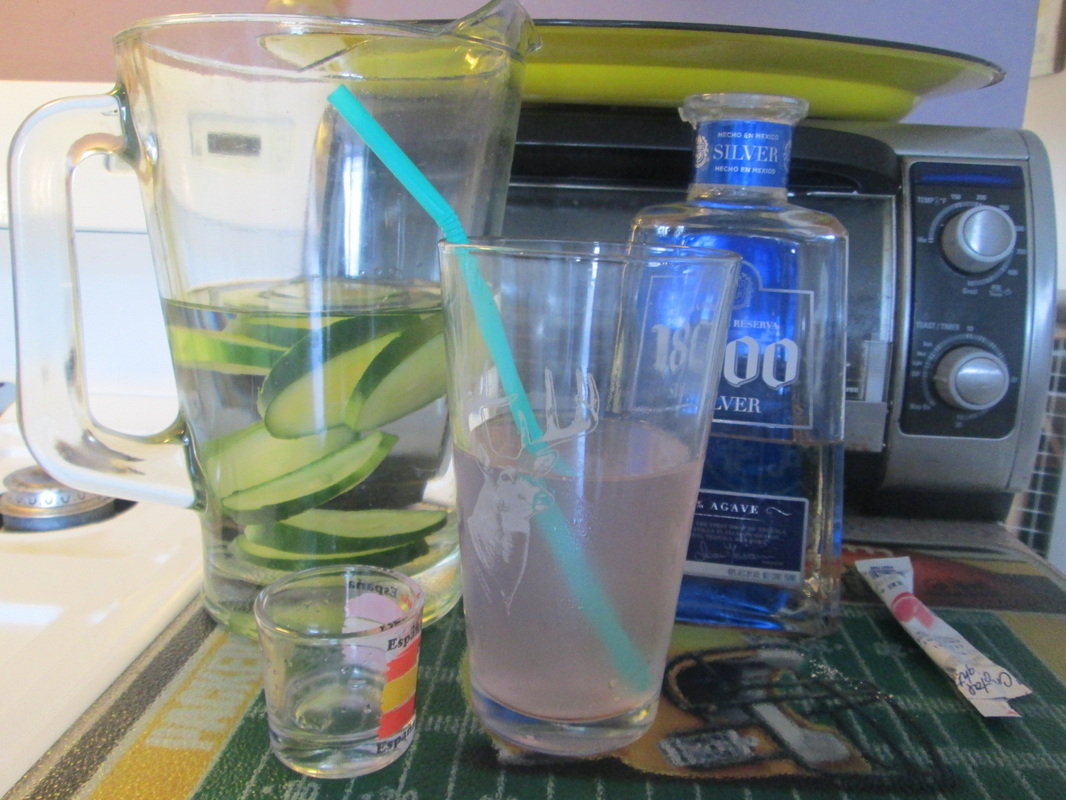
I picked 2 bushels (a bushel is about the size of a laundry basket), this will give you about 4-5 gallons of cider. These should be washed in a solution of water and vinegar (I didn't measure this out, just filled the sink with water and dumped in what was probably about a cup of vinegar). The purpose of this is to remove any harmful residues on the apples (dirt, bugs, bacteria, pesticides).
(Note: If you want to skip the whole cider making process because you don't have an awesome food processor, an awesome friend to help you out, or several free hours to play around with, simply buy cider from your local apple farm or grocery store. It can be pasteurized, but it should NOT include any chemical preservatives such as potassium sorbate. These will prevent the yeast from starting fermentation. No fermentation = No hard cider. )
The food processor isn't mine. It's my sister's. She owns nice things.
Quite frankly, I didn't even realize I needed a food processor in my life until I used hers. Michelle and I pretty much spent the entire day cooing over the food processor and planning future lives in which we have babies and husbands and all the time in the world to make homemade baby food and peanut butter and save our families loads of money with our food processing thriftiness (just imagine the gourmet meals we could whip up) and increase our life expectancies while saving the environment with our food processing savviness (buying organic local foods to use in our food processor instead of processed goods) and all the while wearing cute aprons and 1950's style dresses and being perfect housewives.
Gah! See what a food processor can do to you?! That thing should come with a warning label: Use at the risk of becoming domestic.
But I'm skipping ahead of myself a little here, before you can start using the magical dream-inducing food processor, you've got to have a plan.
Hard Apple Cider making is a bit of a science. Which is good for me because I love science. I sifted through TONS of information on making cider. I mean TONS. There is an exhaustive amount of material on the internet. But lucky for you, I'm going to break it down.
1. Picking and Washing the Apples
I picked 2 bushels (a bushel is about the size of a laundry basket), this will give you about 4-5 gallons of cider. These should be washed in a solution of water and vinegar (I didn't measure this out, just filled the sink with water and dumped in what was probably about a cup of vinegar). The purpose of this is to remove any harmful residues on the apples (dirt, bugs, bacteria, pesticides).
(Note: If you want to skip the whole cider making process because you don't have an awesome food processor, an awesome friend to help you out, or several free hours to play around with, simply buy cider from your local apple farm or grocery store. It can be pasteurized, but it should NOT include any chemical preservatives such as potassium sorbate. These will prevent the yeast from starting fermentation. No fermentation = No hard cider. )
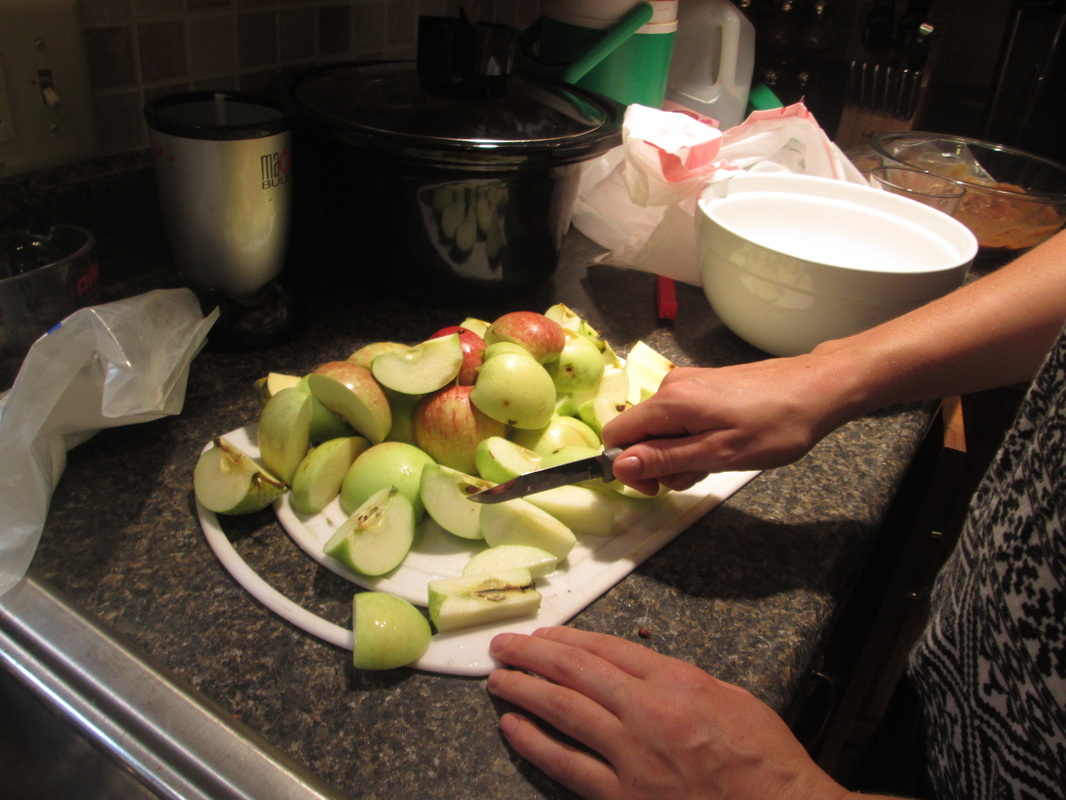
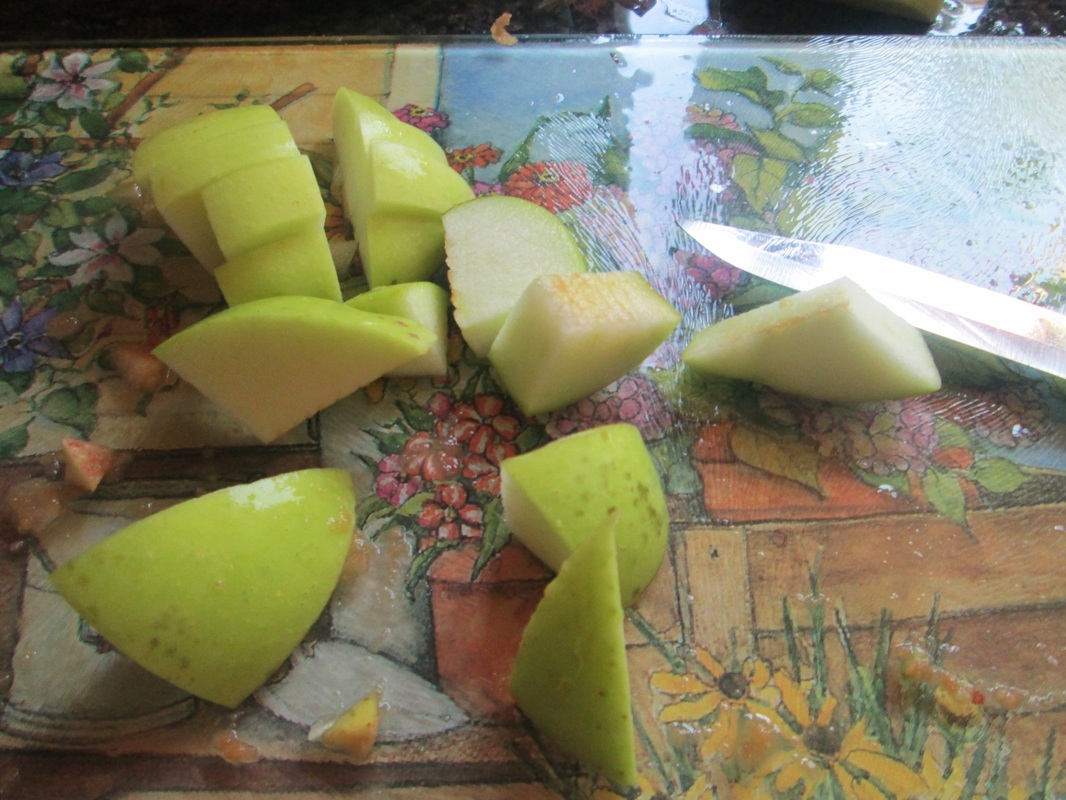
2. Quarter your apples and cut off any bad spots. (Don't worry about the seeds or core, you don't need to cut it out, the magical food processor will take care of those for you.)
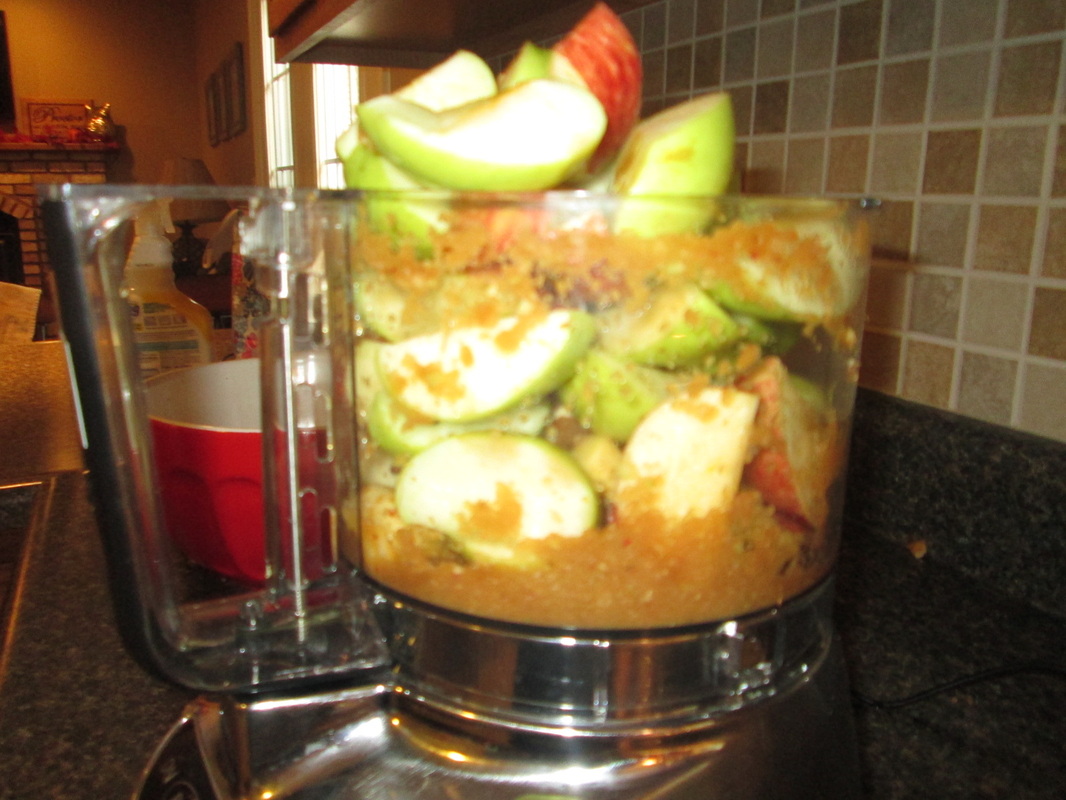
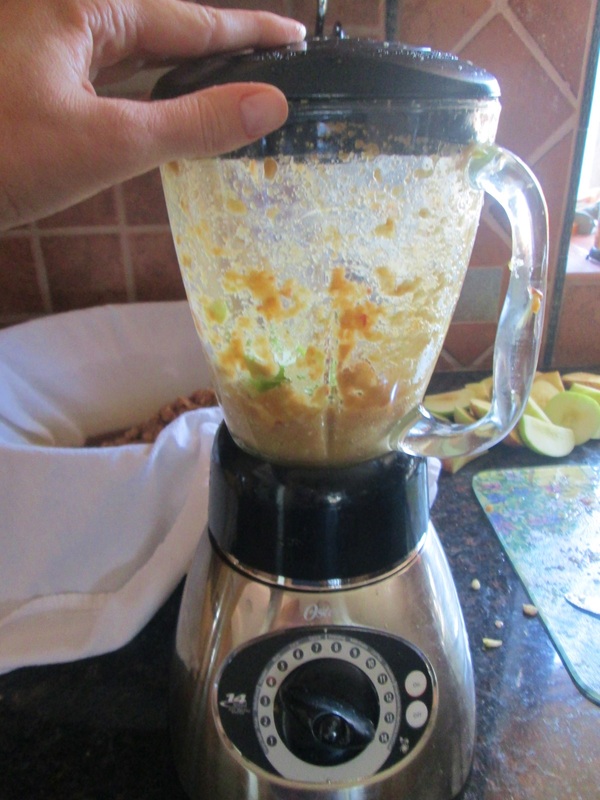
3. Stuff your apples into the food processor and process! (it should be the consistency of apple sauce when you are finished)
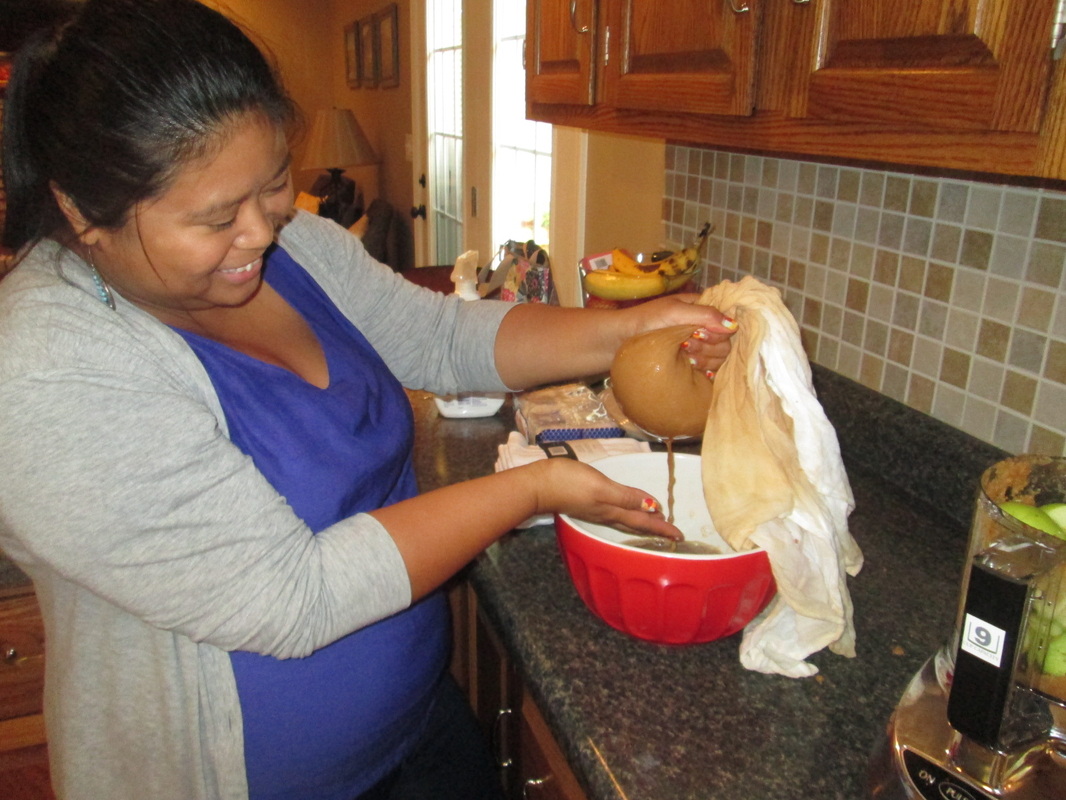
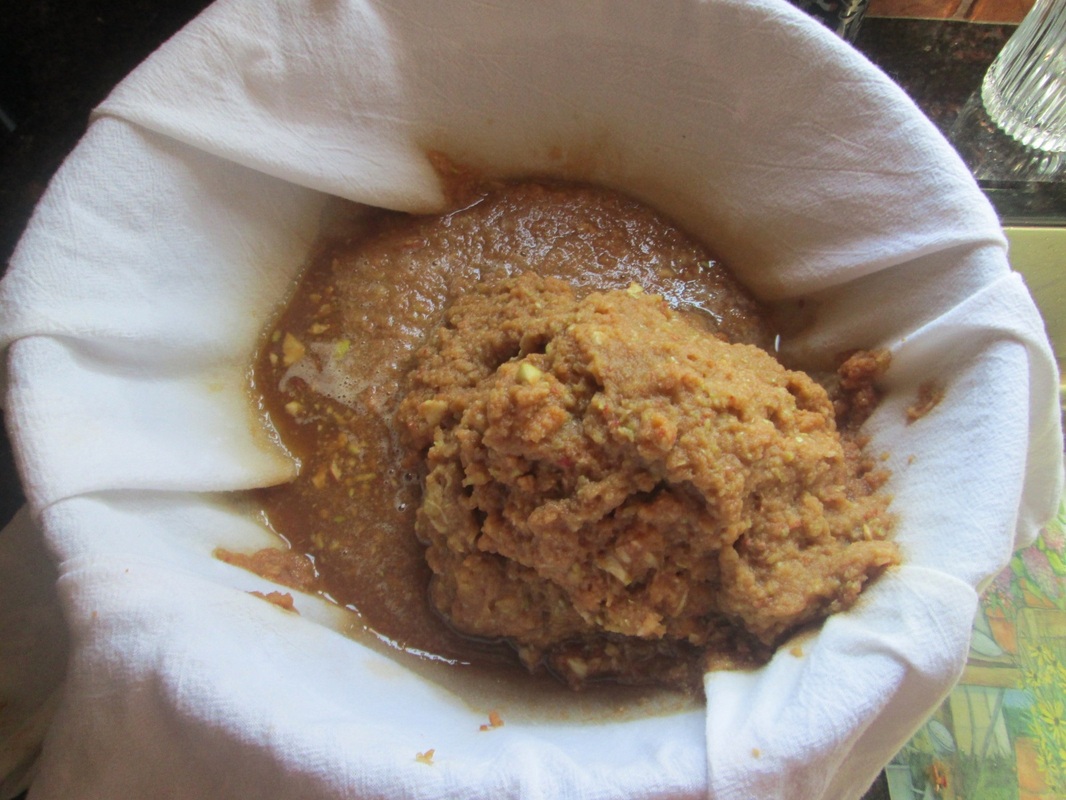
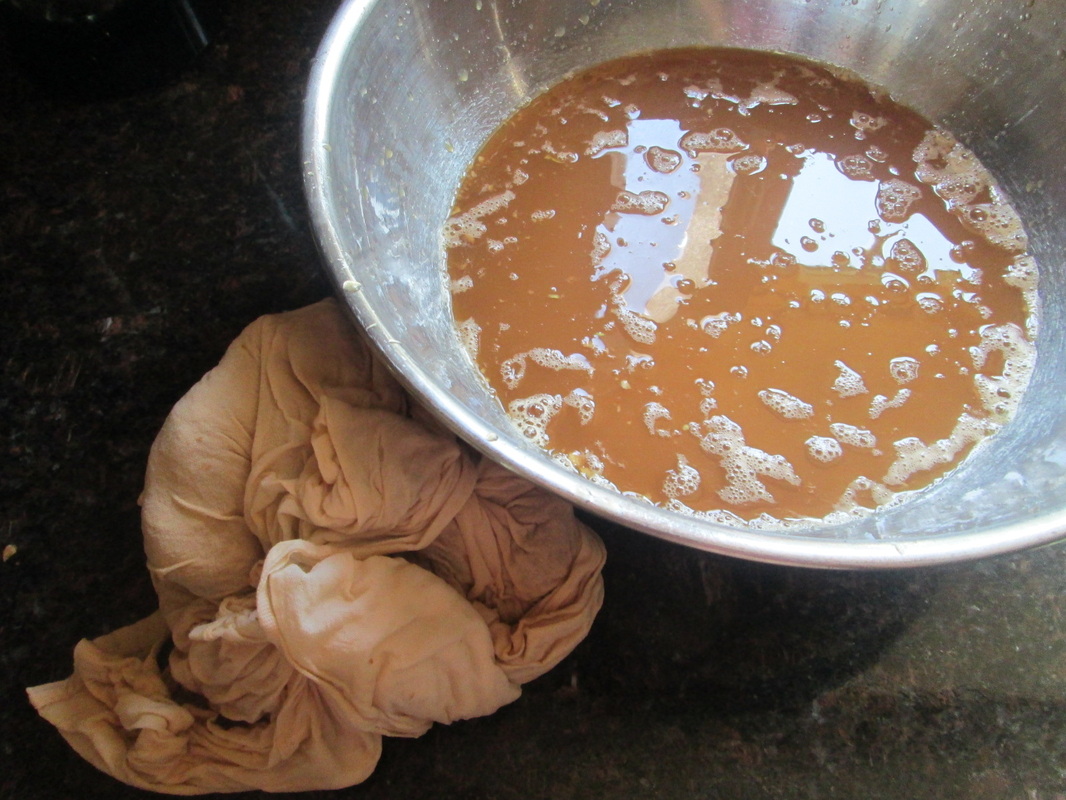
4. Now take a cheese cloth or bakers cloth and lay it over a bowl. Then dump in your freshly processed apple sauce.
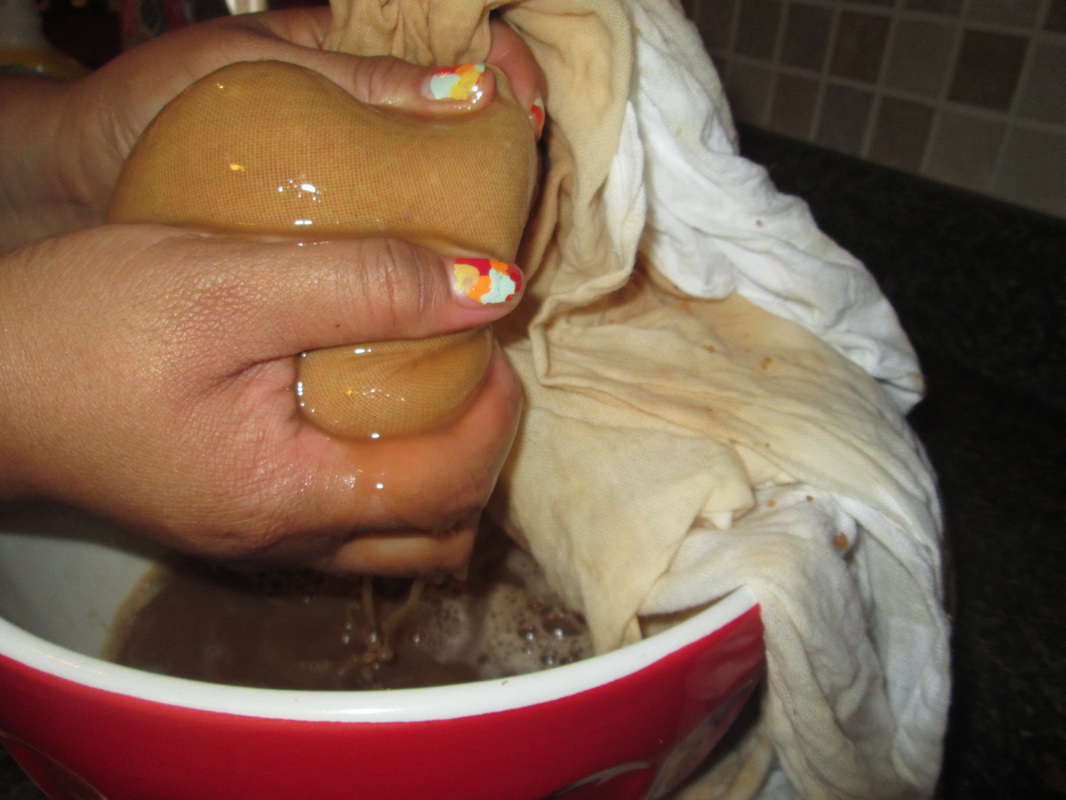
5. SQUEEZE!!
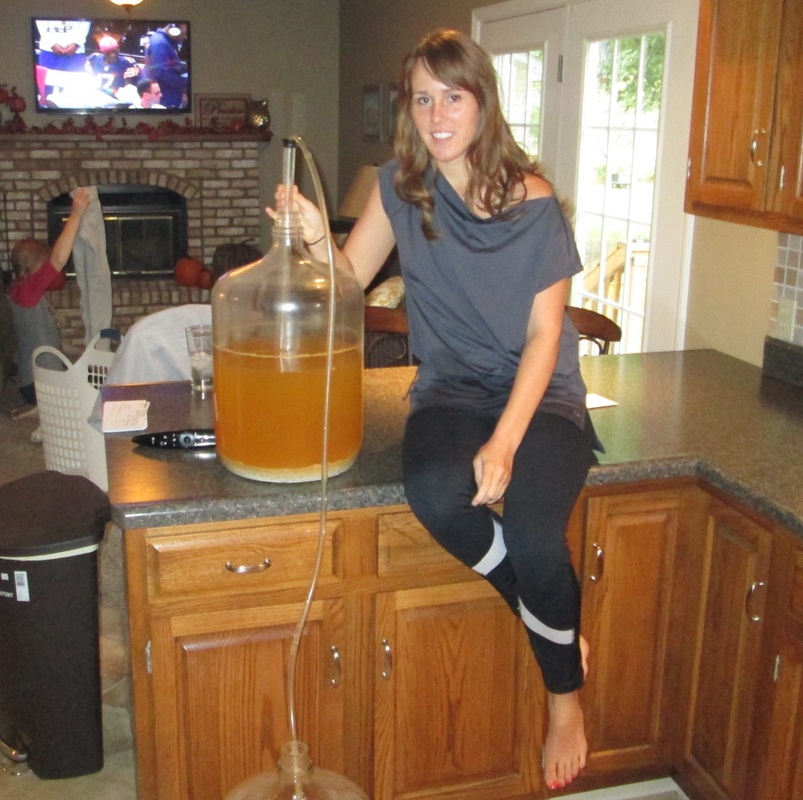
6. Toss your leftover apple pomace (ooo fancy word) into your compost pile. Reserve the apple cider to put in your glass carboy.

7. Get yourself a glass (or plastic) carboy, an airlock, Sanitizer, Pectic Enzyme (optional), Campden Tablets (optional), 1 packet of ale yeast, and a syphon. These can all be found online or at your local brewing store, and sometimes even at large liquor stores. Or you can find yourself a very handy brother-in-law that doesn't mind letting you borrow all of his things.
8. Sterilize your carboy and airlock. This is super simple if you just buy some Star san or Easy Clean Cleanser (which you can find wherever you bought your carboy from). Just follow the instructions and rinse everything in the solution. No boiling necessary.
9. Pour all of the cider into your carboy. (NOTE: you can pasteurize your cider if you'd like, but I didn't bother with this step as it is really just an extra precaution to kill any harmful bacteria.Since all of our apples were fresh and we cut them up ourselves, I deemed it unnecessary since pasteurizing can also slightly alter the flavor of the cider)
10. Add sugar. Add in 1/4 cup of brown sugar or a 1/4 can of frozen apple juice concentrate per gallon to your apple cider. (I had about 4 gallons so I added a whole package of apple concentrate) If you omit this step, your finished cider will probably have somewhere between 3-4 percent alcohol. If you add extra sugar for your yeast to munch on, you finished cider will be around 5-6 percent alcohol. Yeast work by converting sugar to alcohol and carbon dioxide, so the more sugar you start with, the higher concentration of alcohol. However....that doesn't mean you can just go dumping in a ton of sugar and end up with an extremely high alcohol content. If the alcohol percentage gets too high in your cider, it will kill your yeast. (well, effectively the yeast will be killing themselves because they need the sugar to survive, but by consuming the sugar they raise the percentage of alcohol in the cider to the point at which they are creating a toxic environment for themselves. Poor little yeasties, they will either starve to death or die by alcohol poisoning. What a Catch 22) Different strains of yeast have different tolerances to alcohol, but ale yeast generally start biting the dust at around 11 percent alcohol by volume.
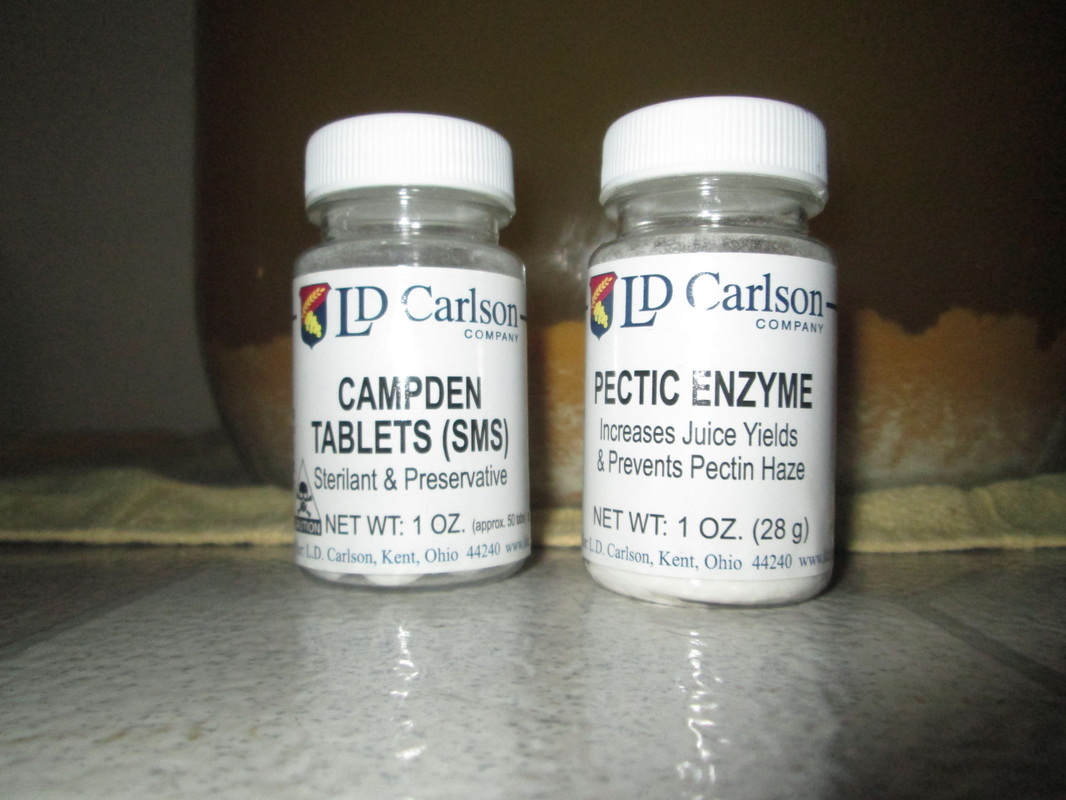
10. Optional: Throw in the campden tablets. These will kill any wild strains of yeast which could make your cider taste funny. You will need to put in one campden tablet per each gallon of yeast. Wait 12 hours for the campden tablets to take effect.
11. Optional: Throw in the pectic enzyme. Follow the instructions on the bottle. Pectic enzyme helps to clarify the brew so it won't have a hazy appearance. If you don't mind a hazy cider, don't worry about this step. Wait another 12 hours.
12. Rehydrate and proof your yeast. First put 1 cup of warm boiled water into a sanitized container and stir in the yeast. Cover with Saran Wrap and wait 15 minutes. "Proof" the yeast by adding one teaspoon of sugar. Why? because the yeast are hungry and want something to eat. Next cover the container and place it a warm area out of direct sunlight. After 30 minutes or so you should see foam or bubbles. Congratulations your hungry yeast are working and ready to be pitched. Into your apple cider that is!
13. Pitch your yeast. Dump the yeast into the carboy full of cider and grab your airlock. The airlock is the funky shaped little tube. Fill it half full of sanitized water and then cap your carboy with it. That way the air produced by your yeast can escape, but no bugs or germs can get to your delicious cider.
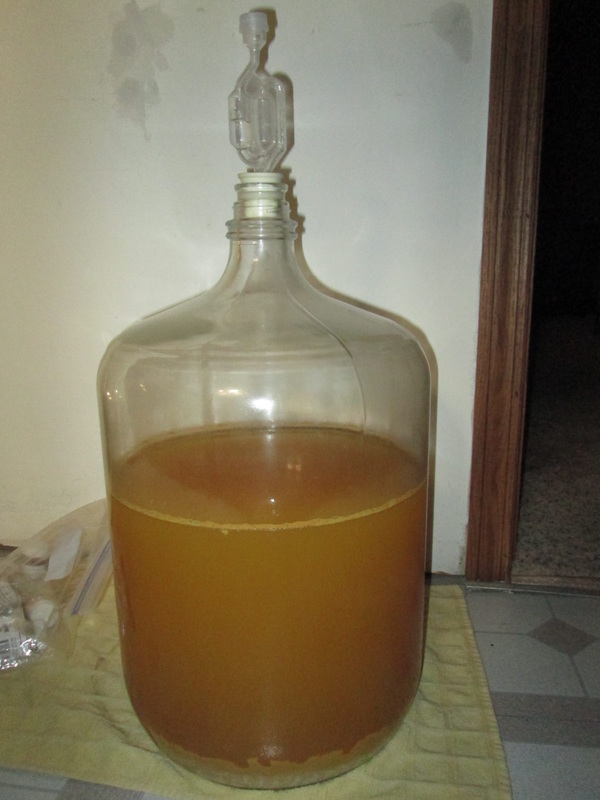
14. Waiting. Put your cider in the basement and sit back and wait. Your hungry little yeast are going to get to munching and multiplying. Yeast thrive on sugar, so they'll be eating up all the sugar in your apple cider and converting it into alcohol and carbon dioxide. That's fermentation. You will see the airlock bubbling a lot in the first couple days as the carbon dioxide escapes. After about 2 weeks your yeast will start running out of sugar to eat and most will die. At the end of two weeks you will also notice a LOT of sediment has settled at the bottom of the carboy. We don't want to drink that stuff. So its time to transfer the cider into a new carboy. This is called racking.
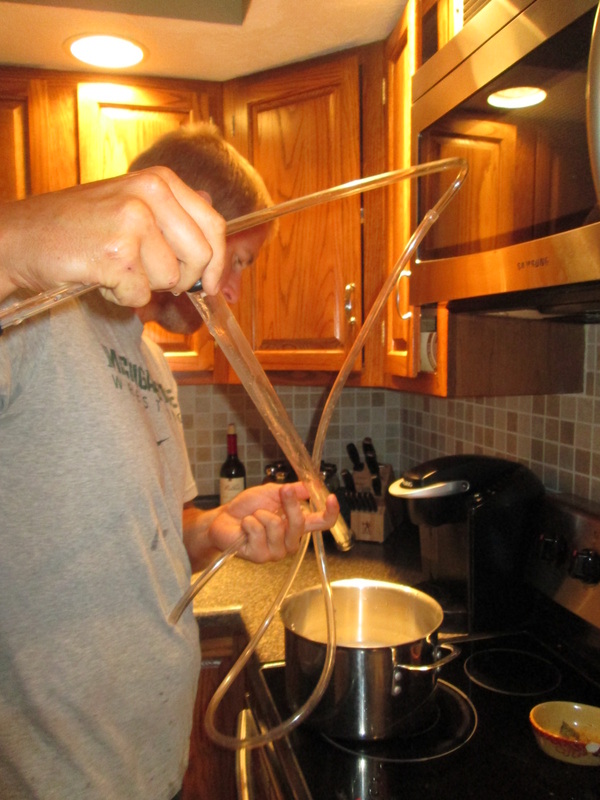
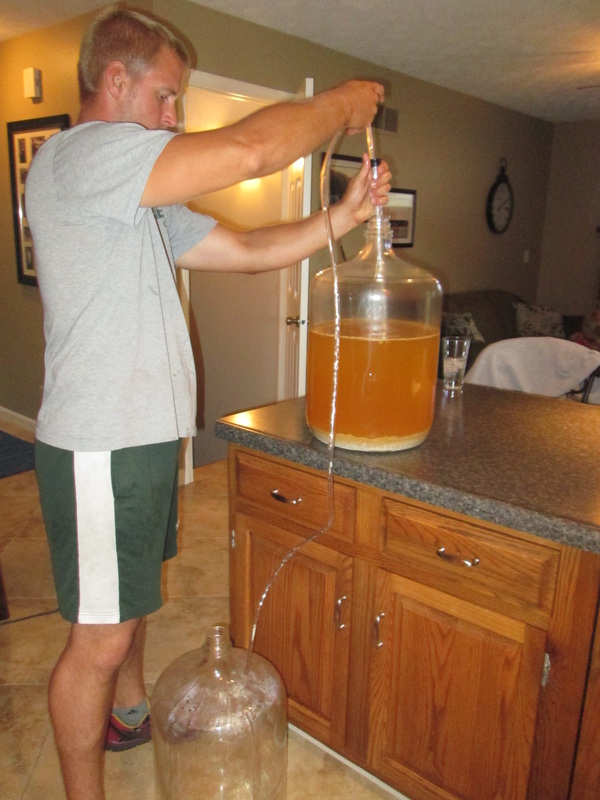
15. Racking. A day before racking, set your cider on a countertop so that you won't stir up the sediment moving it around on the day you rack. Here's where you will need the syphon. Be sure to sanitize the carboy and the syphon. Put the syphon into your apple cider but make sure it never touches the sediment, you don't want to suck that stuff up. Then if you have an automatic syphon, make sure the other end of the hose is in your clean carboy on the floor, and give the syphon a couple pumps to get your cider flowing. Remember, try not to suck up the sediment! This should take all of about 5 minutes. Easy peasy.
15. Racking. A day before racking, set your cider on a countertop so that you won't stir up the sediment moving it around on the day you rack. Here's where you will need the syphon. Be sure to sanitize the carboy and the syphon. Put the syphon into your apple cider but make sure it never touches the sediment, you don't want to suck that stuff up. Then if you have an automatic syphon, make sure the other end of the hose is in your clean carboy on the floor, and give the syphon a couple pumps to get your cider flowing. Remember, try not to suck up the sediment! This should take all of about 5 minutes. Easy peasy.
Sanitizing the equipment
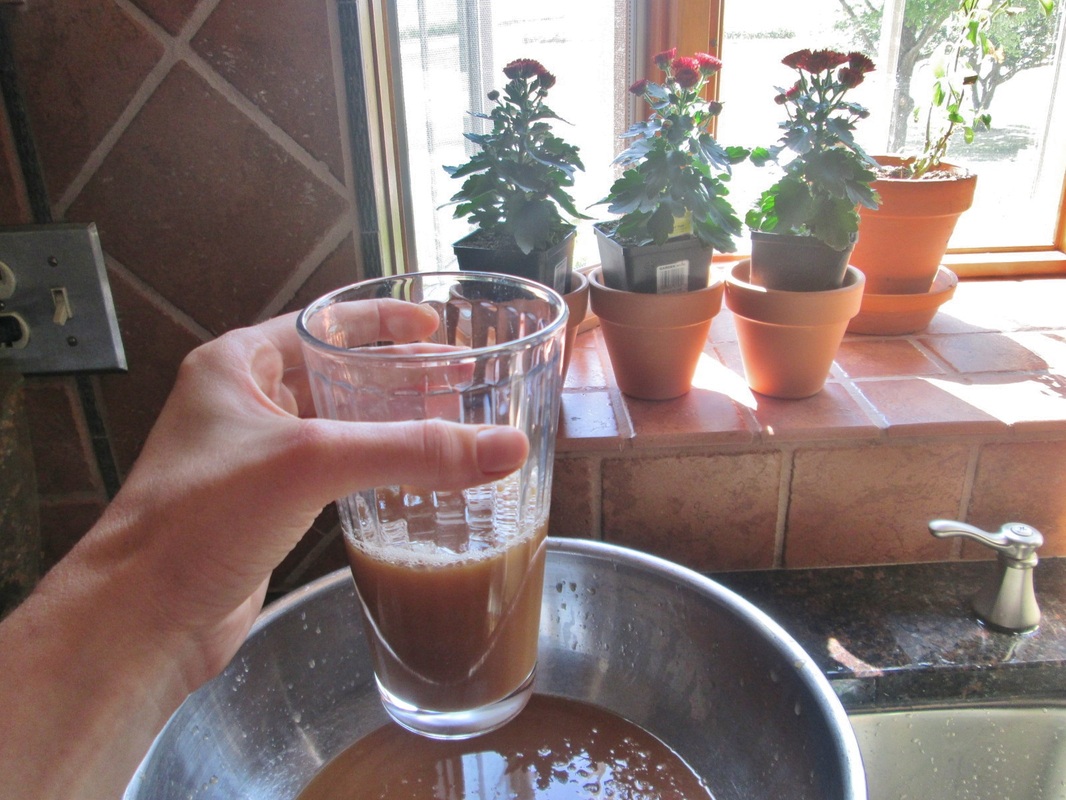
16. Taste Test.You should probably save a little cider to try at this point. It will not be sweet. Remember the yeast ate all your sugar. If you like it dry, then this is perfect for you. If not, then you'll want to add a little bit of alcohol sugar. Alcohol sugar is a type of sugar that the yeast can't eat, so it will sweeten the cider without restarting fermentation. These include xylitol, stevia, truvia, and splenda. Sweeten the cider to taste, but remember, once you put it in, you can't take it out. You could also add a little apple flavoring at this point too if you wanted. Flavoring can be found online or at your local brew store.
I like my cider not too sweet, so I only added two little sugar packets of stevia to my 4 gallons. I may add more at bottling time if I decide I'd like it a little sweeter.
17. More waiting. Move your cider back to the basement and wait some more.
This is officially "secondary fermentation," but you should see very little (if any) bubbling action. Most of the info I read agreed to let the cider sit for about 21 days, although you could actually let it "mellow" for 2-3 months. Apparently it will develop some nice flavor and continue to clear the longer you let it sit. But I'm Miss Impatient, so I'll stick to the 21 days.
For more information about making hard cider, check out the two websites below. All of my information is from them since they had the best instructions and most complete explanations.
http://makehardapplecider.com/
http://www.howtomakehardcider.com/rack-bottle.html
See you back here at bottling time!
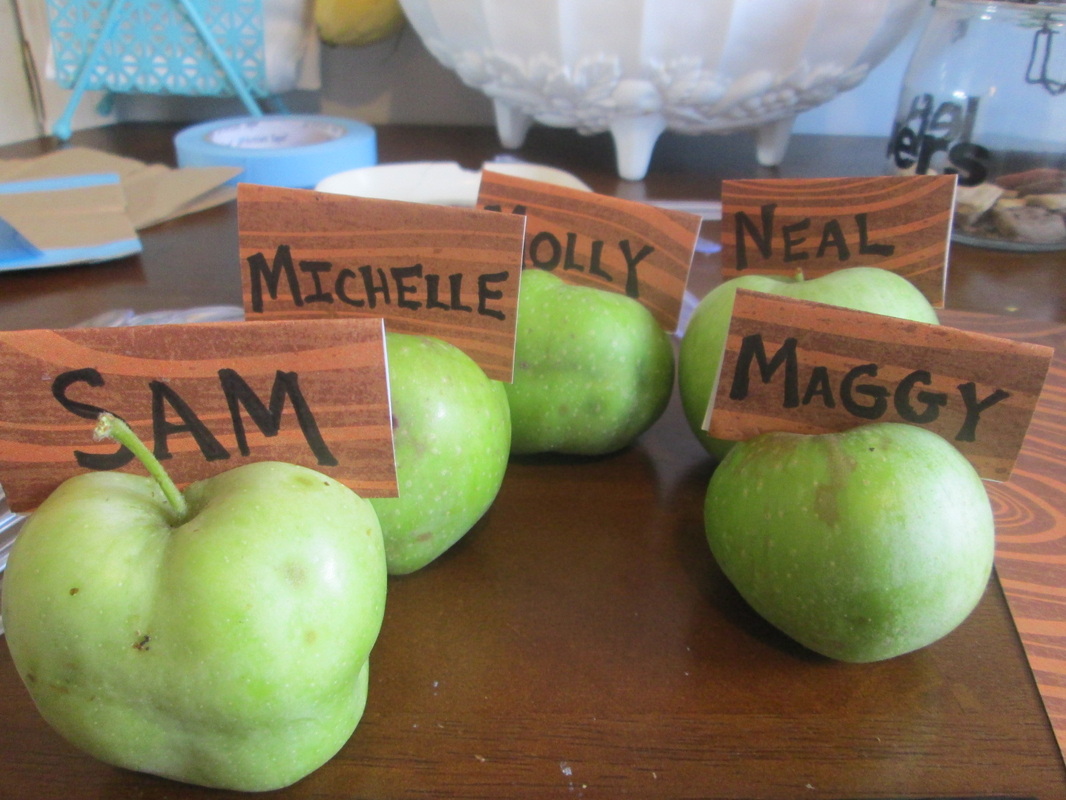
P.S. Big hugs and thank yous to Michelle, Maggy, and Neal for lending me your time, your kitchen, and your equipment.
I like my cider not too sweet, so I only added two little sugar packets of stevia to my 4 gallons. I may add more at bottling time if I decide I'd like it a little sweeter.
17. More waiting. Move your cider back to the basement and wait some more.
This is officially "secondary fermentation," but you should see very little (if any) bubbling action. Most of the info I read agreed to let the cider sit for about 21 days, although you could actually let it "mellow" for 2-3 months. Apparently it will develop some nice flavor and continue to clear the longer you let it sit. But I'm Miss Impatient, so I'll stick to the 21 days.
For more information about making hard cider, check out the two websites below. All of my information is from them since they had the best instructions and most complete explanations.
http://makehardapplecider.com/
http://www.howtomakehardcider.com/rack-bottle.html
See you back here at bottling time!
P.S. Big hugs and thank yous to Michelle, Maggy, and Neal for lending me your time, your kitchen, and your equipment.


 RSS Feed